Envelope Art: Day 6
/ dorian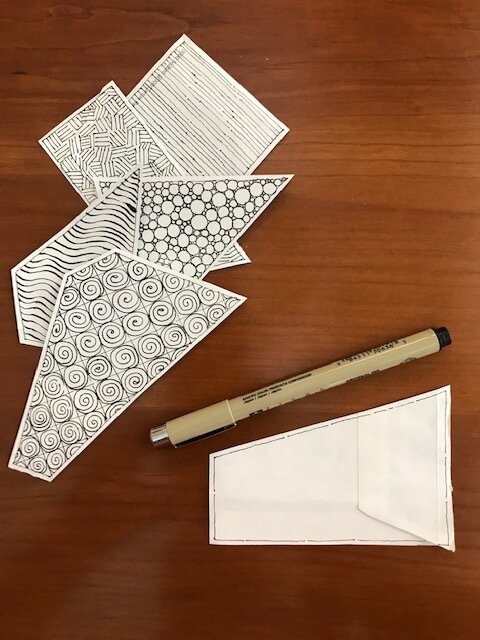
Relax, take some long deep breaths and let’s begin with your last section. (Prepare another envelope if you need a section). There are quite a few tangless within this section, if you’re limited on space, pick and choose your favorites. When deciding placement, think about balancing your section with light and dark patterns.
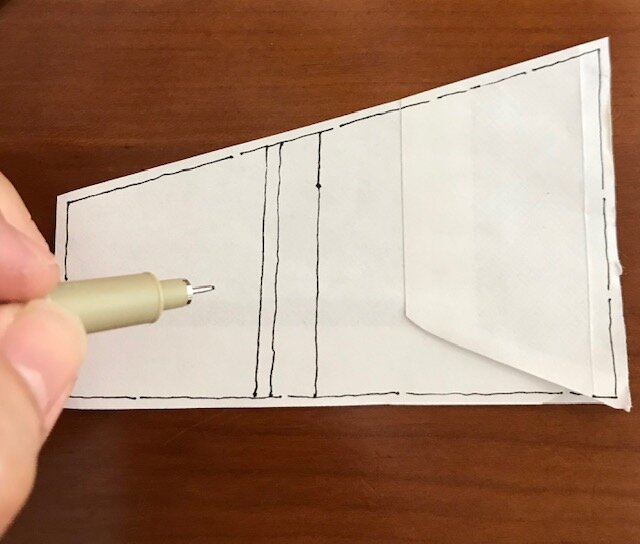
Draw a series of parallel lines from one side of your border to the opposite side. Vary the distance between your lines as you will be tangling in between.
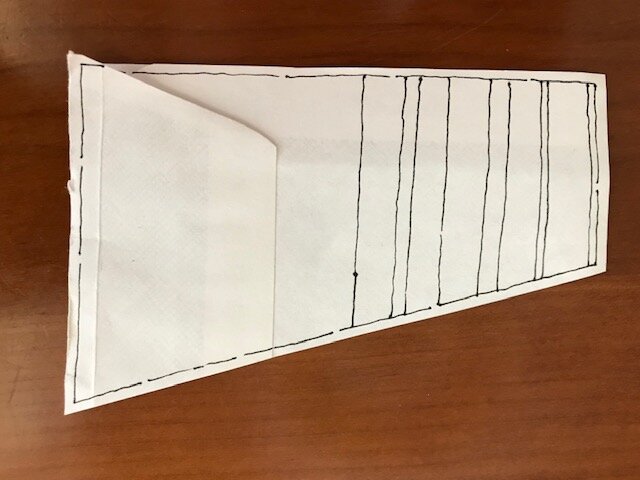
Turn your section around to complete your series of lines.
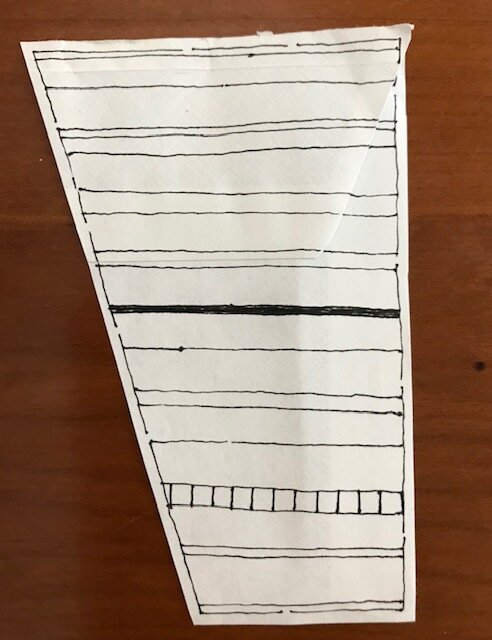
Using one section, draw a series of perpendicular lines evenly spaced creating a row of squares.
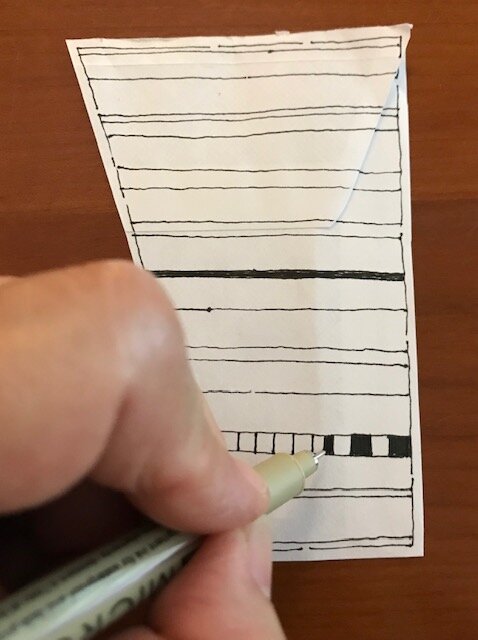
Color in every other square to create the tangle “Knightsbridge”. For additional tangle patterns check out tanglepatterns.com
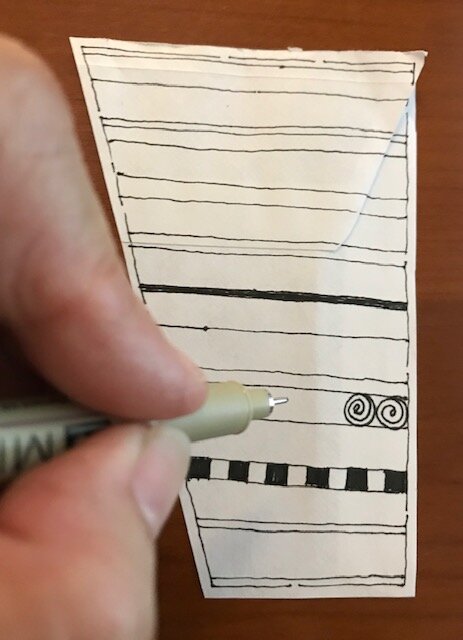
In another area, draw a row of spirals. This tangle is “Printemps”.
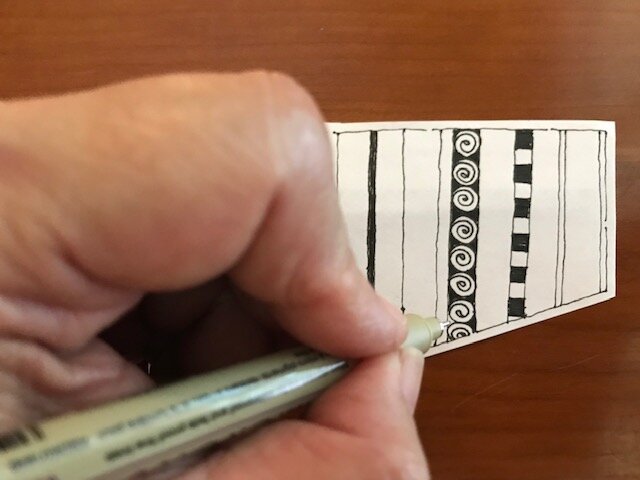
Fill in the negative space with your pen.
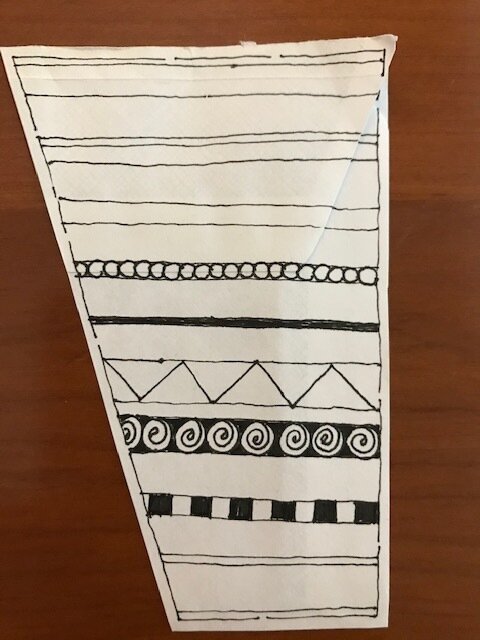
Draw a zigzag line between two lines. In some of the narrower bands, you can add a row of orbs (circles), see above.

Aura (repeat) the lines slanting in one direction only. Fill in the triangular space above with some concentric circles.
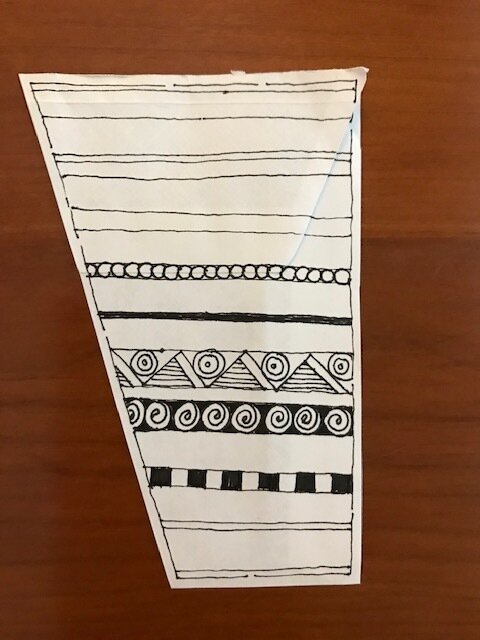
In the triangles below fill it with some parallel lines.
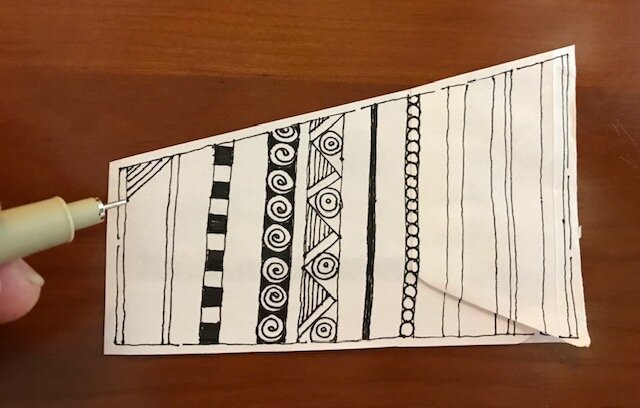
In another area, begin in a corner and draw diagonal lines within the triangle.
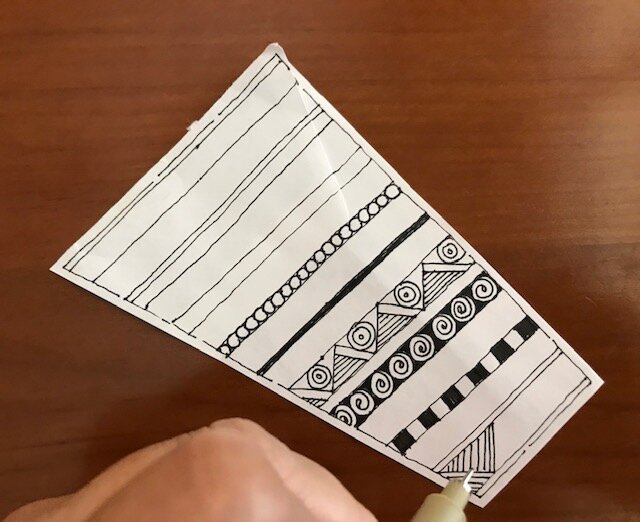
Turn your section and draw another triangle of parallel lines 90 degrees to the first triangle.
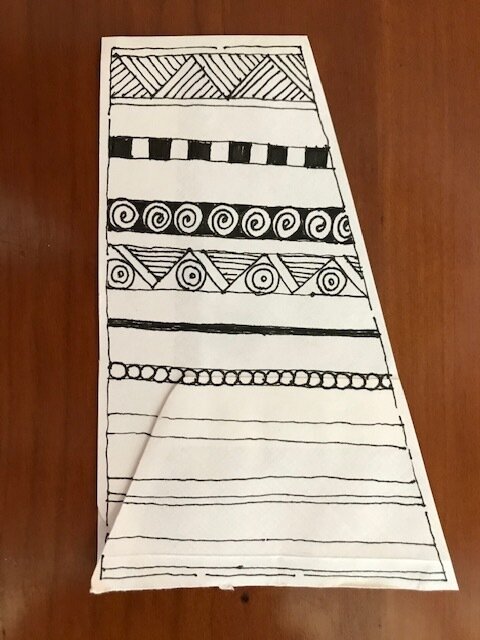
Draw your triangles across the area.
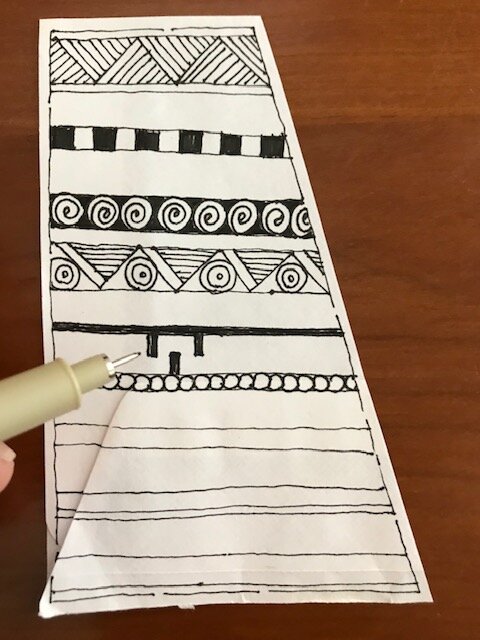
In another area, draw a series of bars along the fop and bottom.
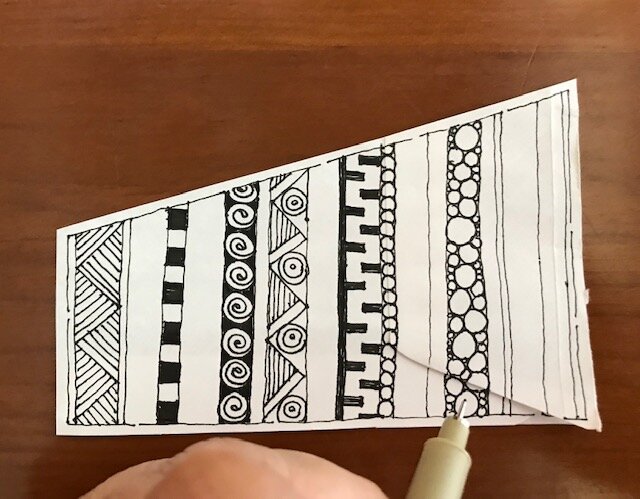
Fill the next area with orbs (circles).
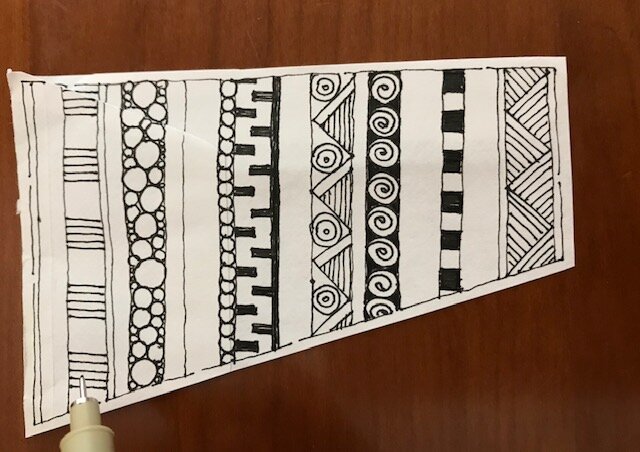
Draw a series of lines to create squares. Draw parallel lines in every other square.
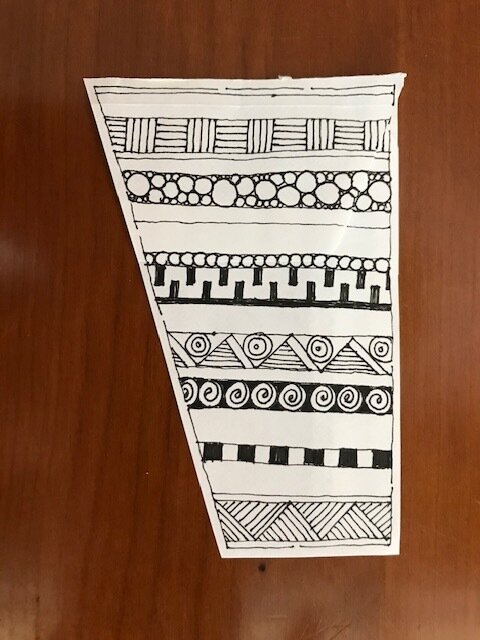
In the remaining squares draw lines 90 degrees to the other squares.

Similarly, draw quarter circles from one side to the other, like little rainbows.
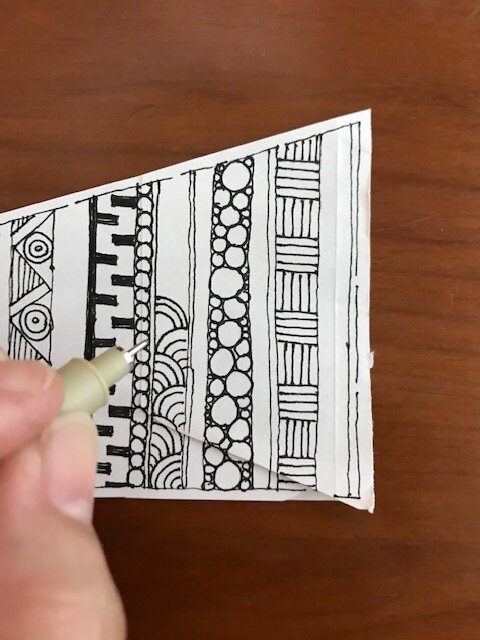
Draw your quarter circle from the opposite side.
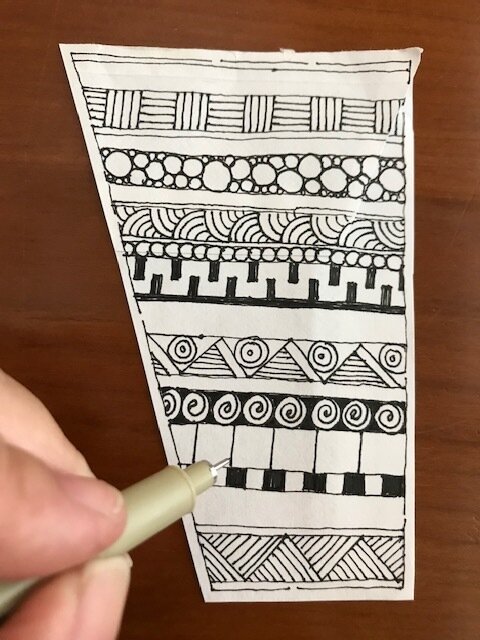
Draw another series of squares.
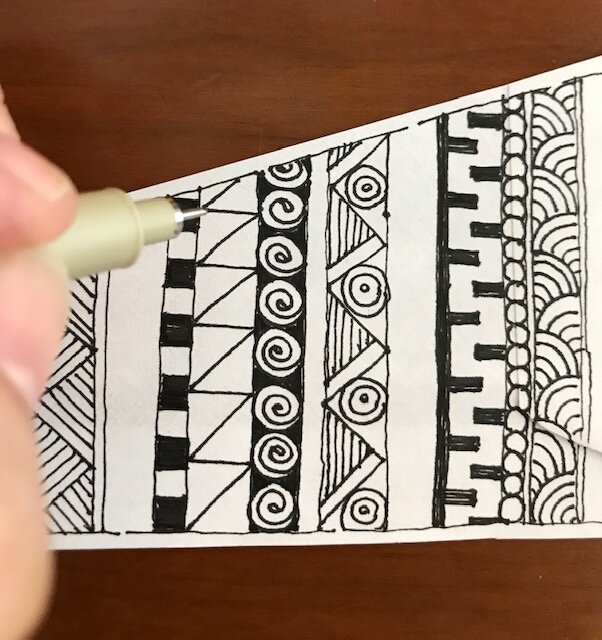
Draw diagonals between each square.
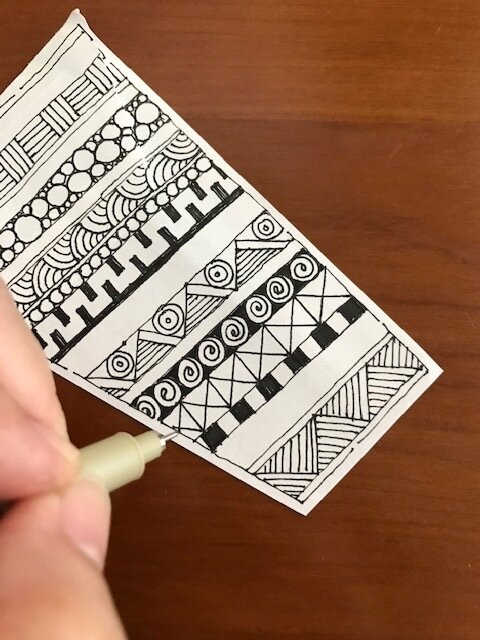
Draw diagonal lines in the other direction making little “x”s.
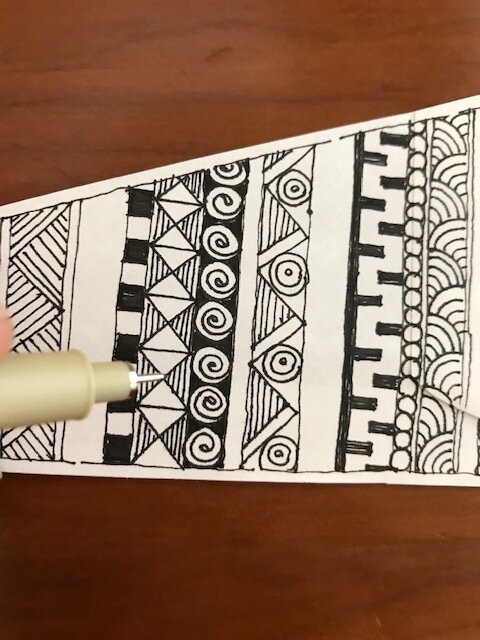
Hatch (draw parallel lines) in opposite triangular corners.
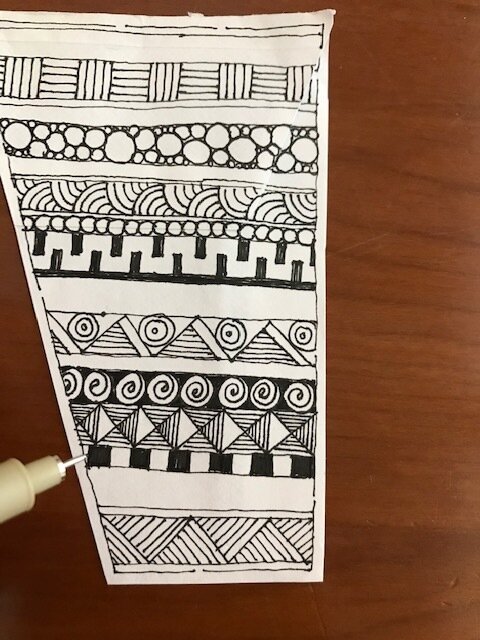
Hatch in every other triangle along the pattern
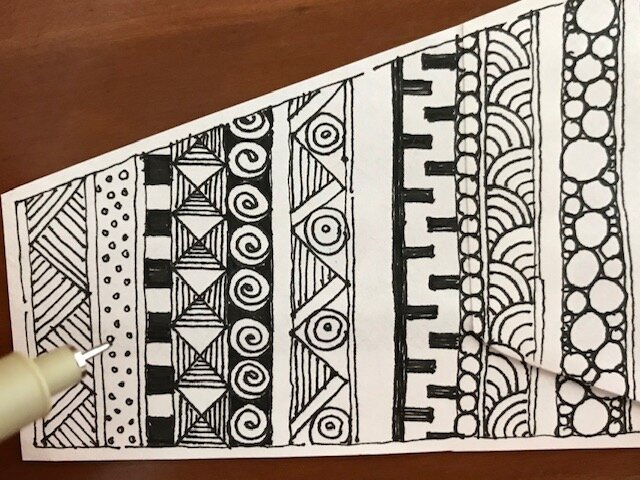
Draw random tiny circles to fill space.
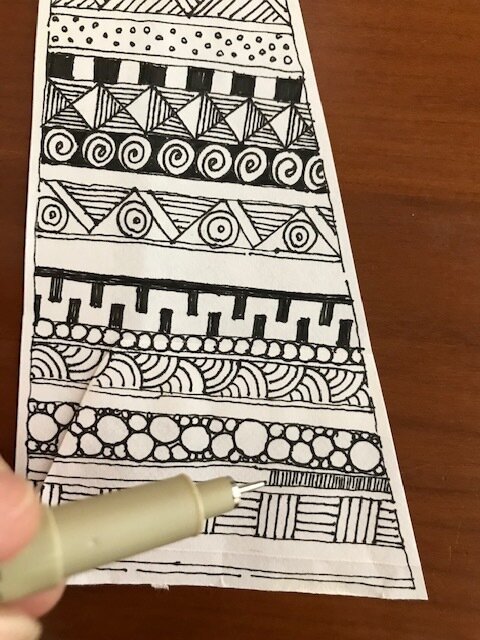
Draw parallel lines in the thinner bands.
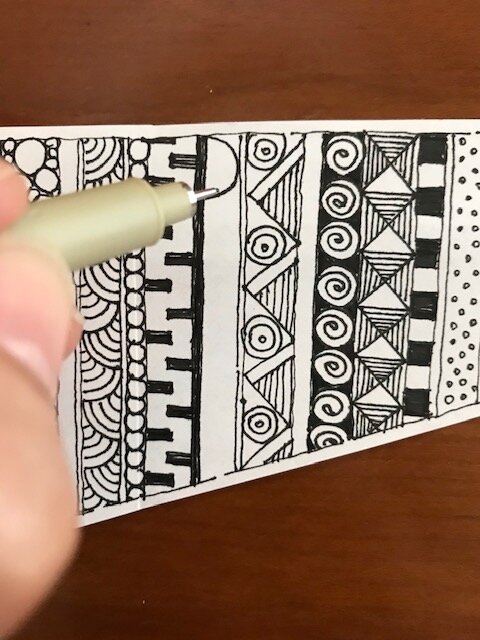
Draw a half circle touching both sides.
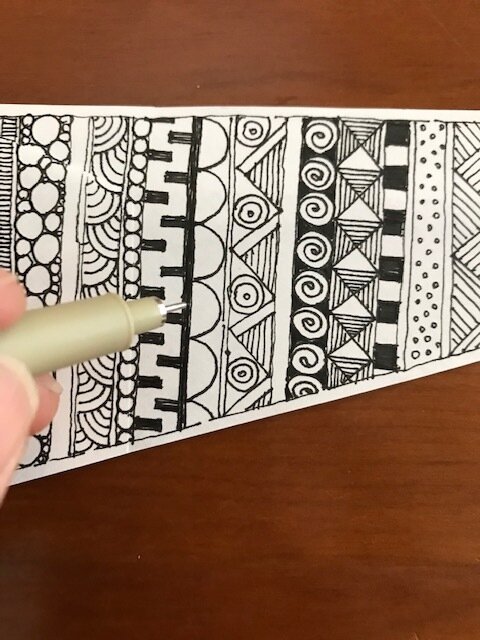
Continue drawing half circles along the area. (like continuously drawing the number “3”).
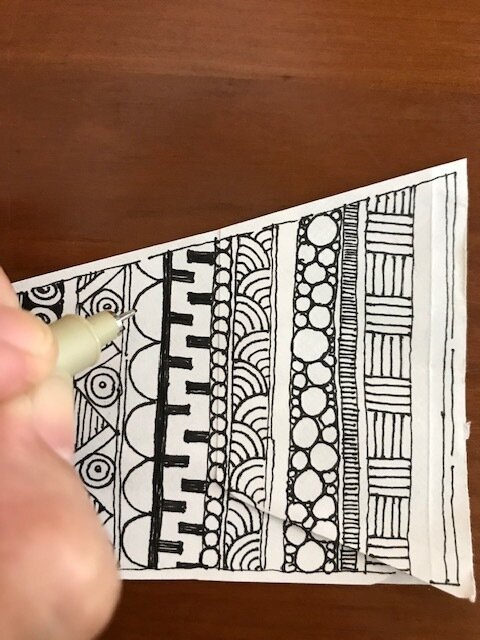
Turn your paper 180 degrees around. Beginning at the center where the curve touches the edge, draw another half circle touching the opposite edge where the previous semi circles meet.
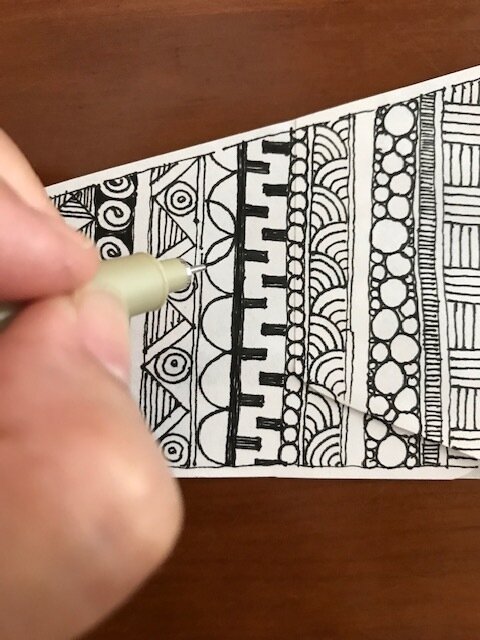
Still drawing the continuous number “3”.

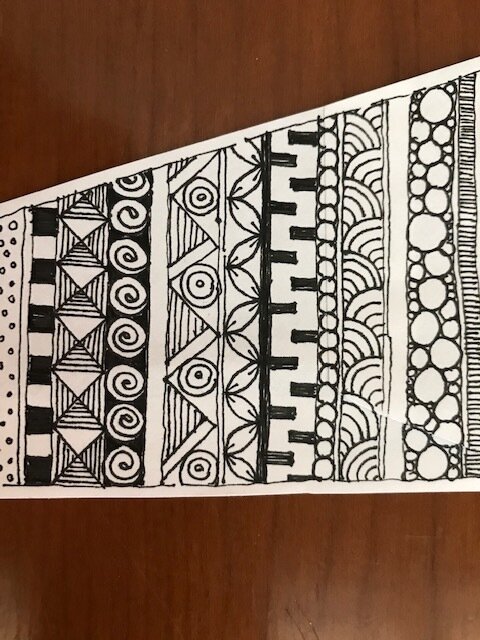
Draw little lines at each petal tip
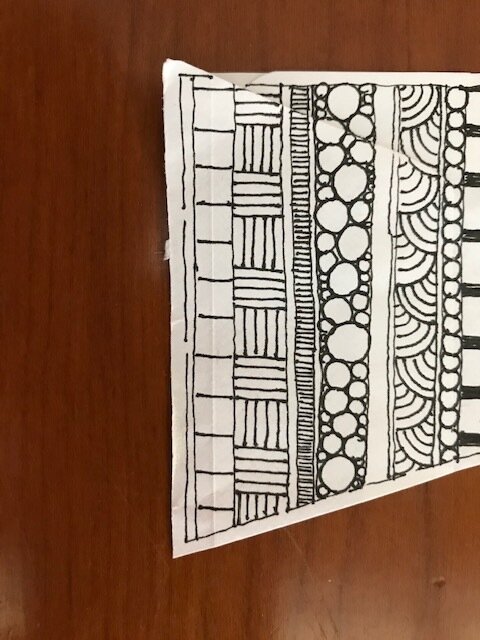
Draw lines across to create squares.
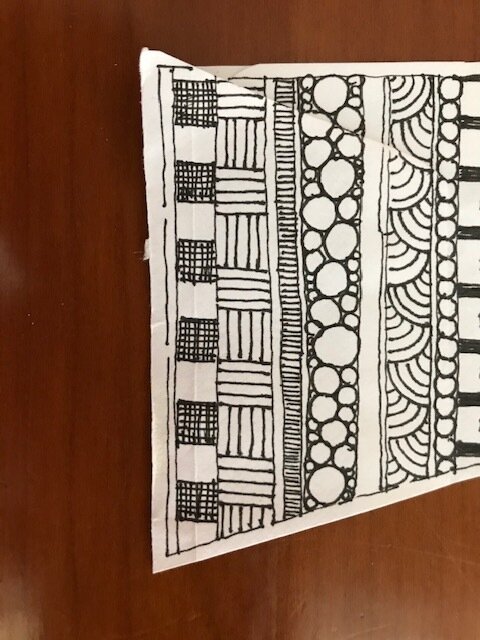
Cross hatch every other square.
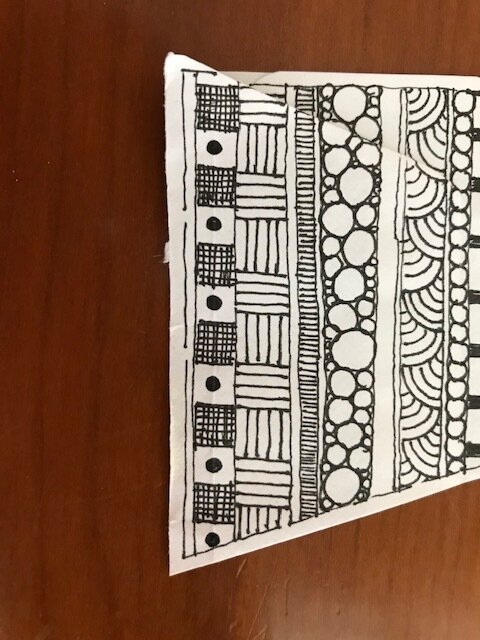
Add solid circles to the remaining squares.
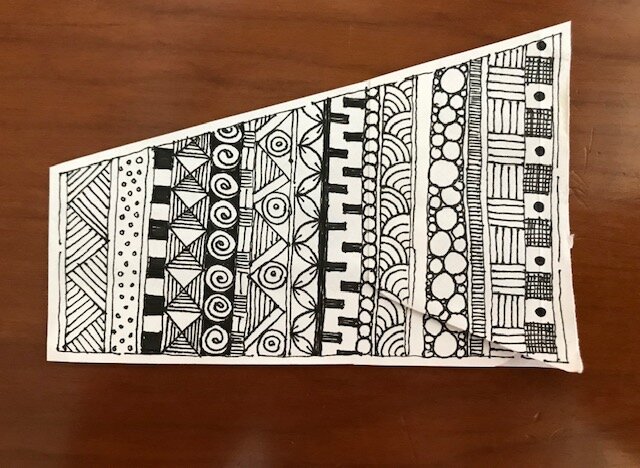
Completed section. Join me tomorrow as we bring it all together and finish this project.


