Project 4: Folded Stationery
/ dorianBeing home gives all of us an opportunity to connect the old fashioned way, by “snail” mail. Write a letter, tangle, or draw a picture. Here’s a simple folding project creating the envelope and stationery all in one using a standard 8.5” x 11” piece of paper that folds into an envelope that is approx 4” x 5.5”, just right for mailing requirements, address and add a postage stamp.
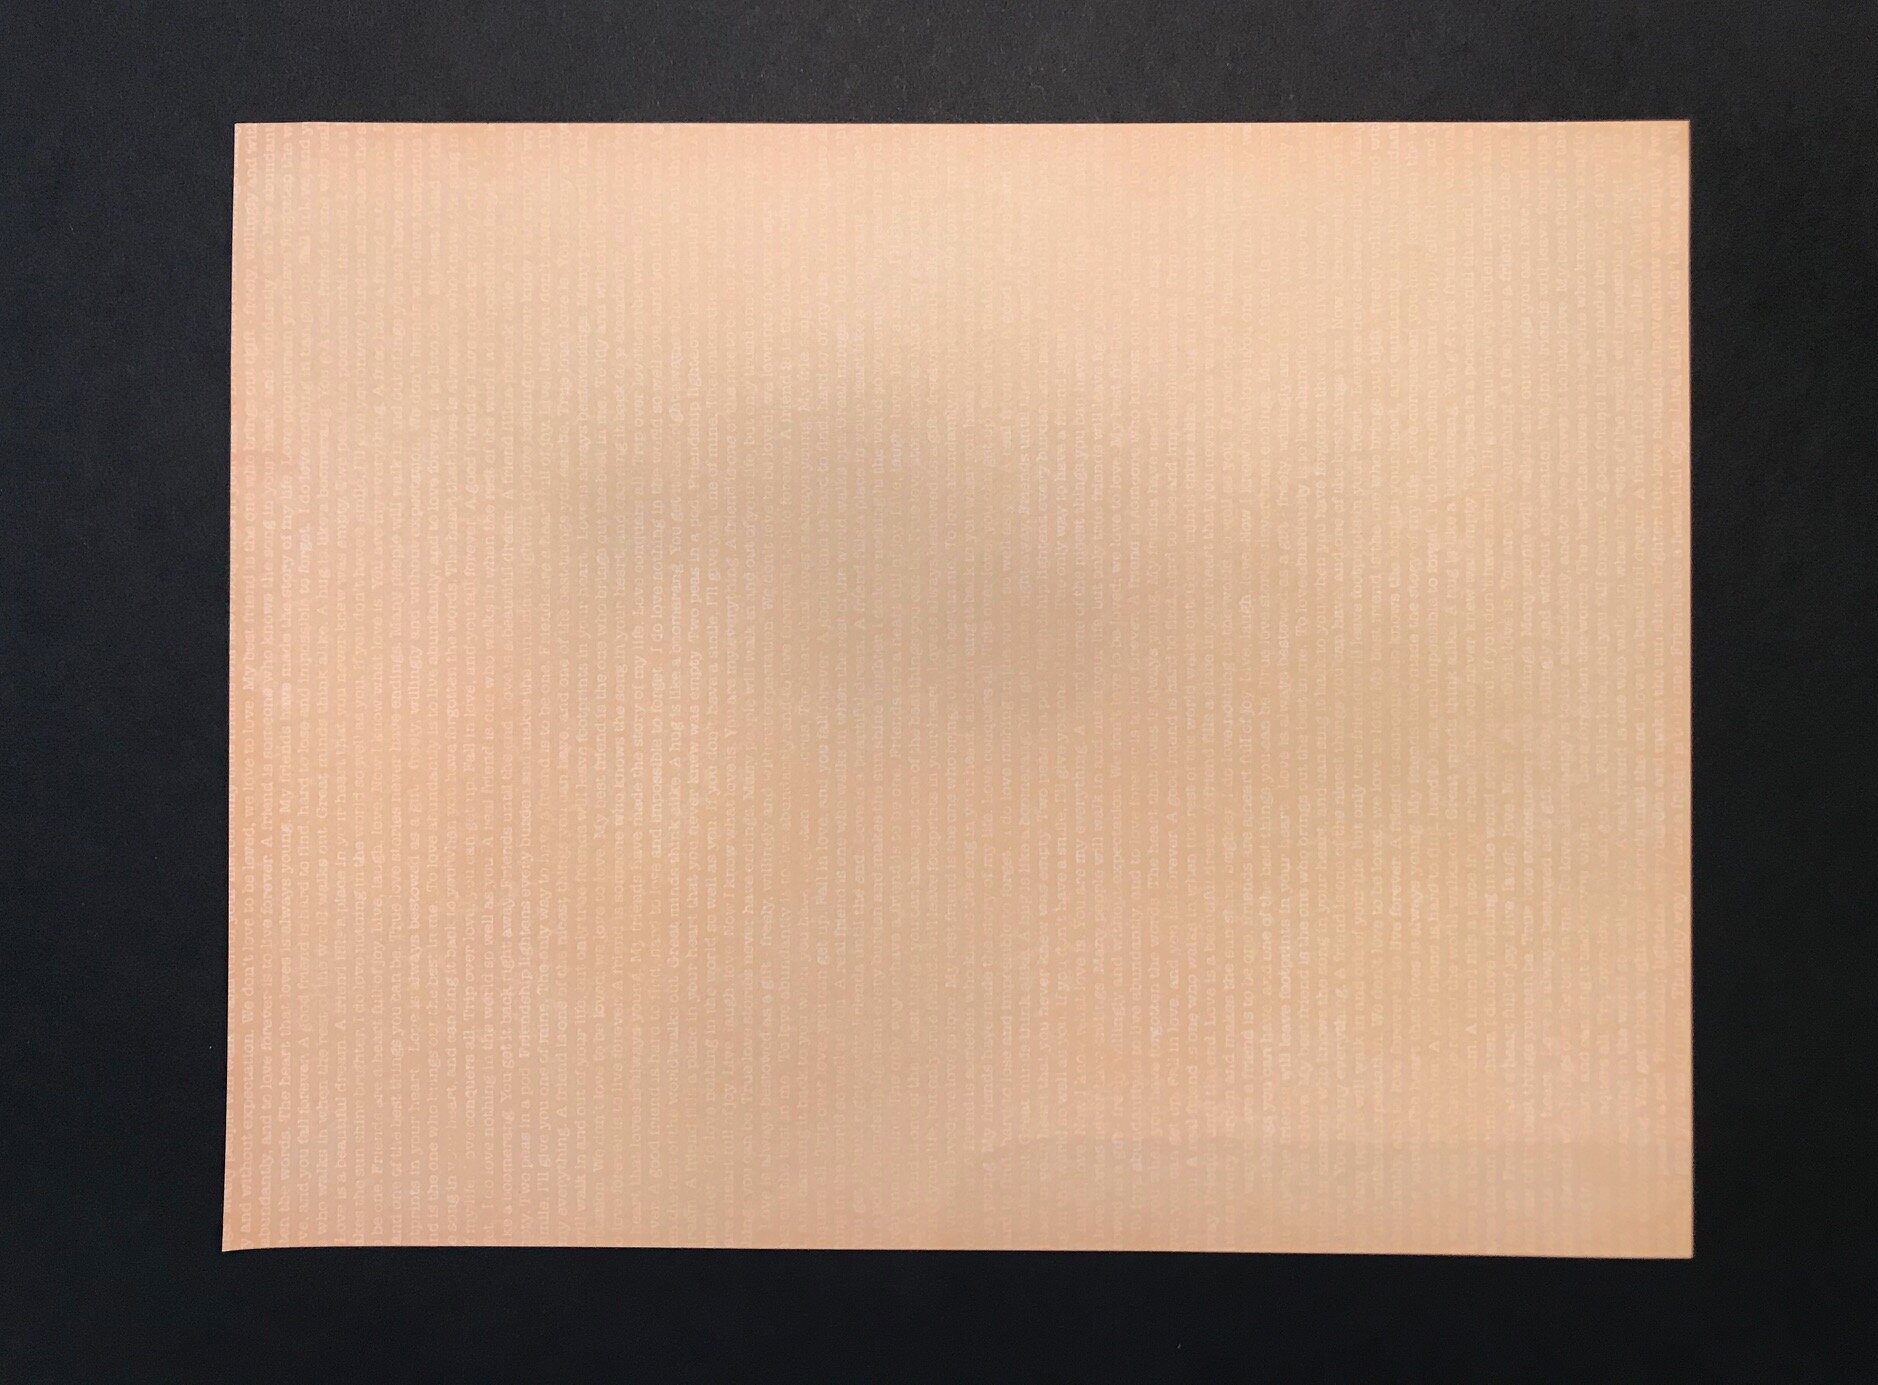
Begin with letter size paper 8.5” x 11”. You will also need a ruler and pen or pencil.
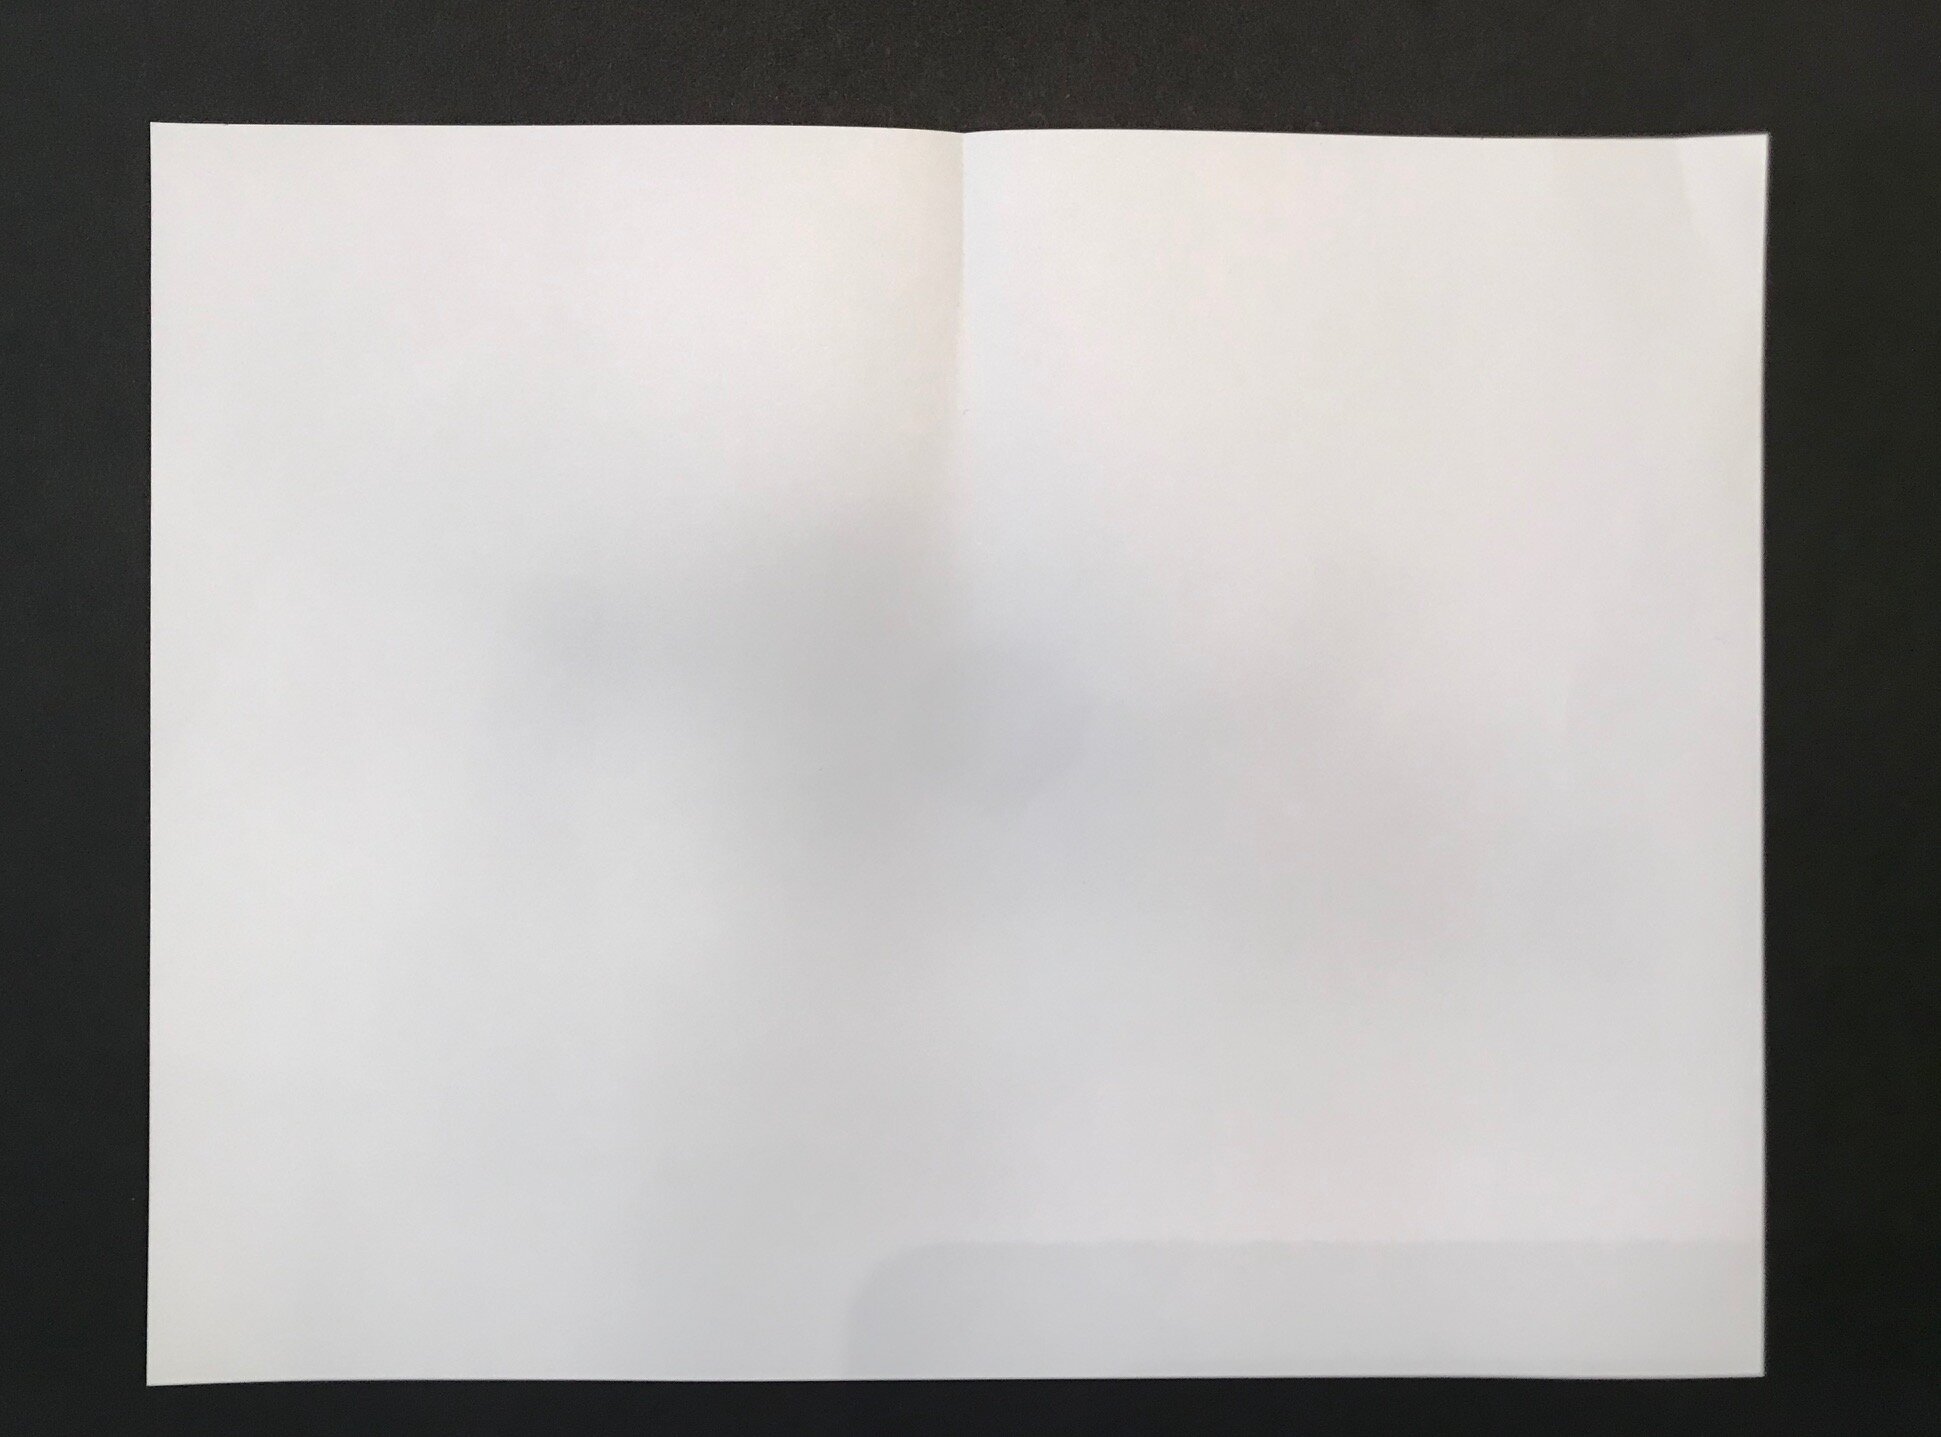
If using a decorative sheet, flip the blank side to the front and partially fold in half length wise just marking the center.
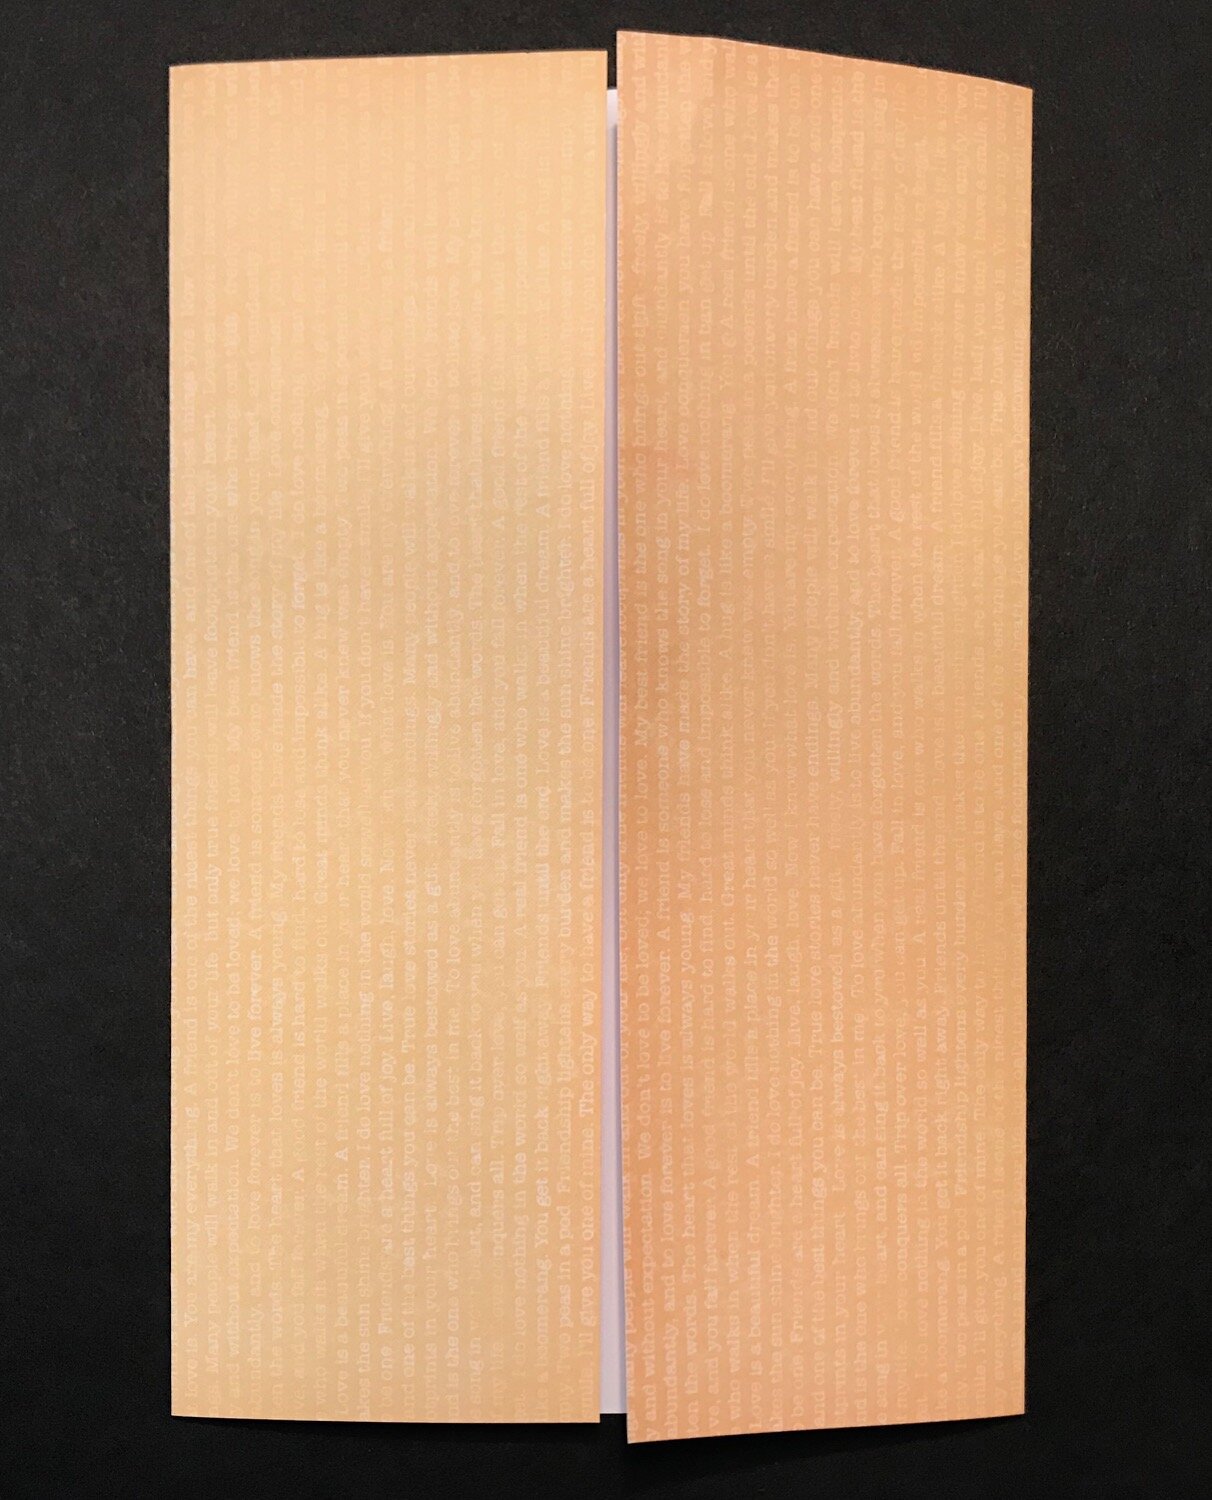
Fold each short side towards the center, making sure not to overlap the edges.
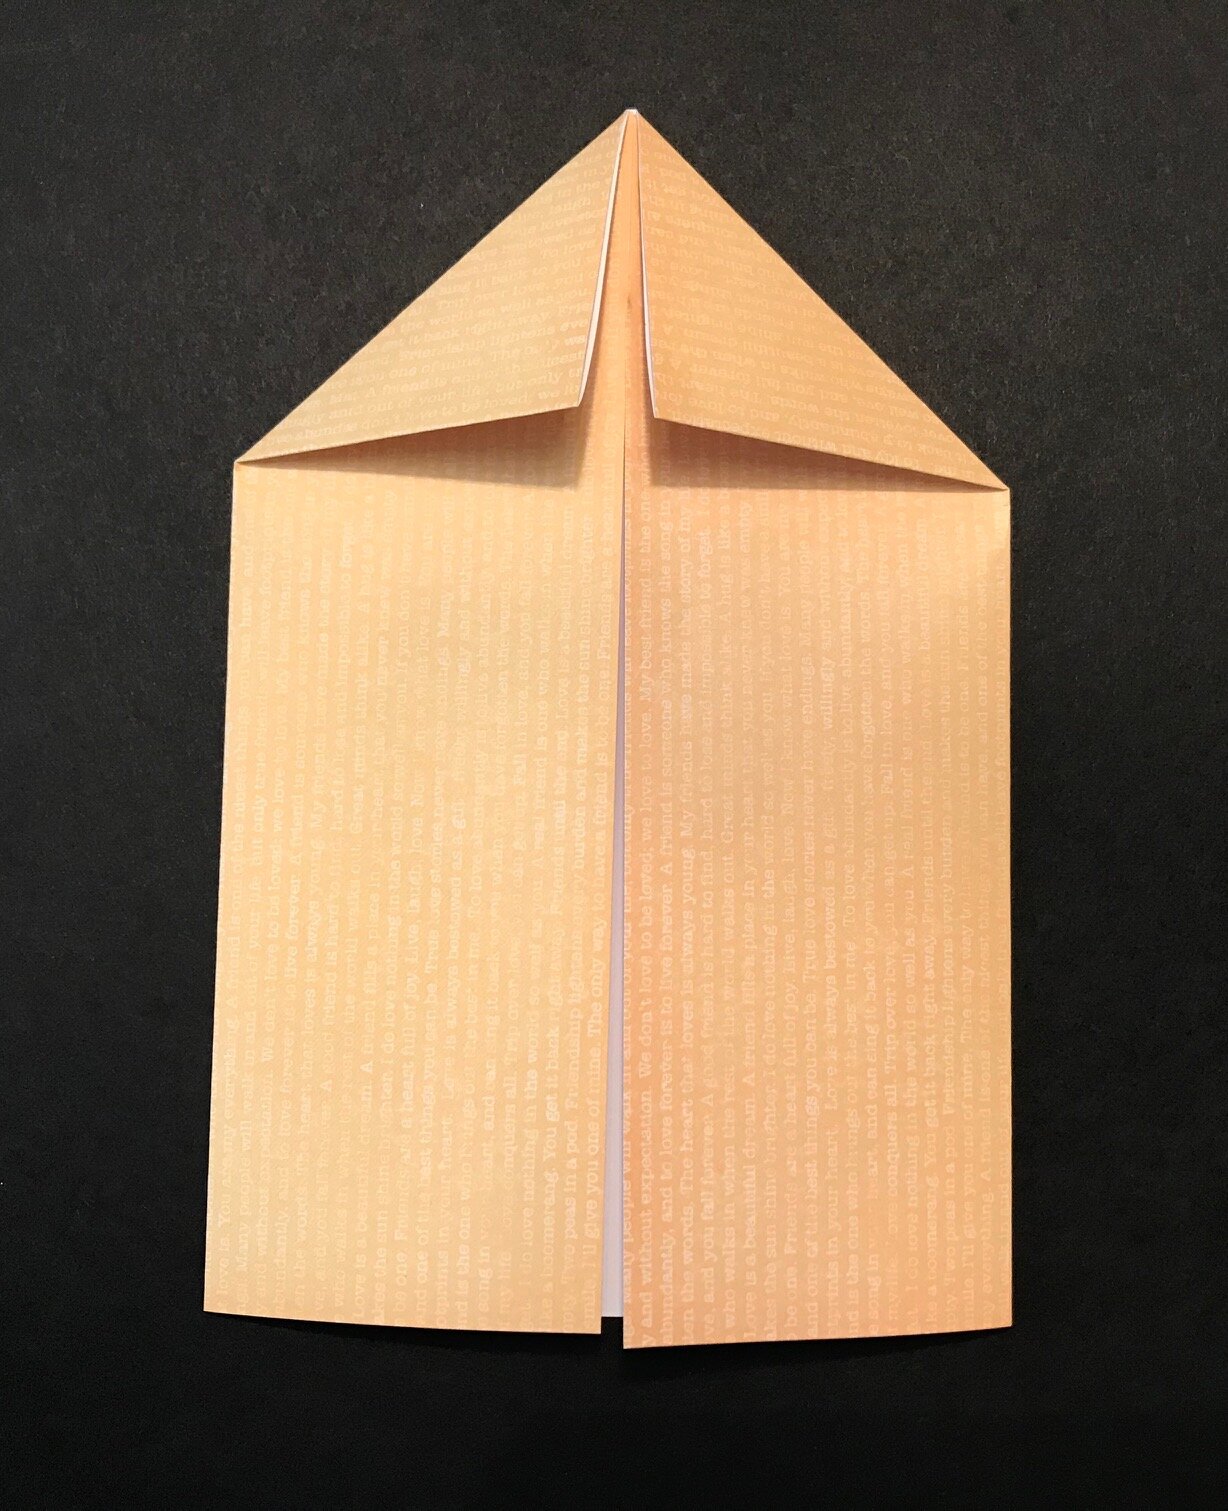
Fold the left and right top corners toward the center, aligning the top edge with the center line.
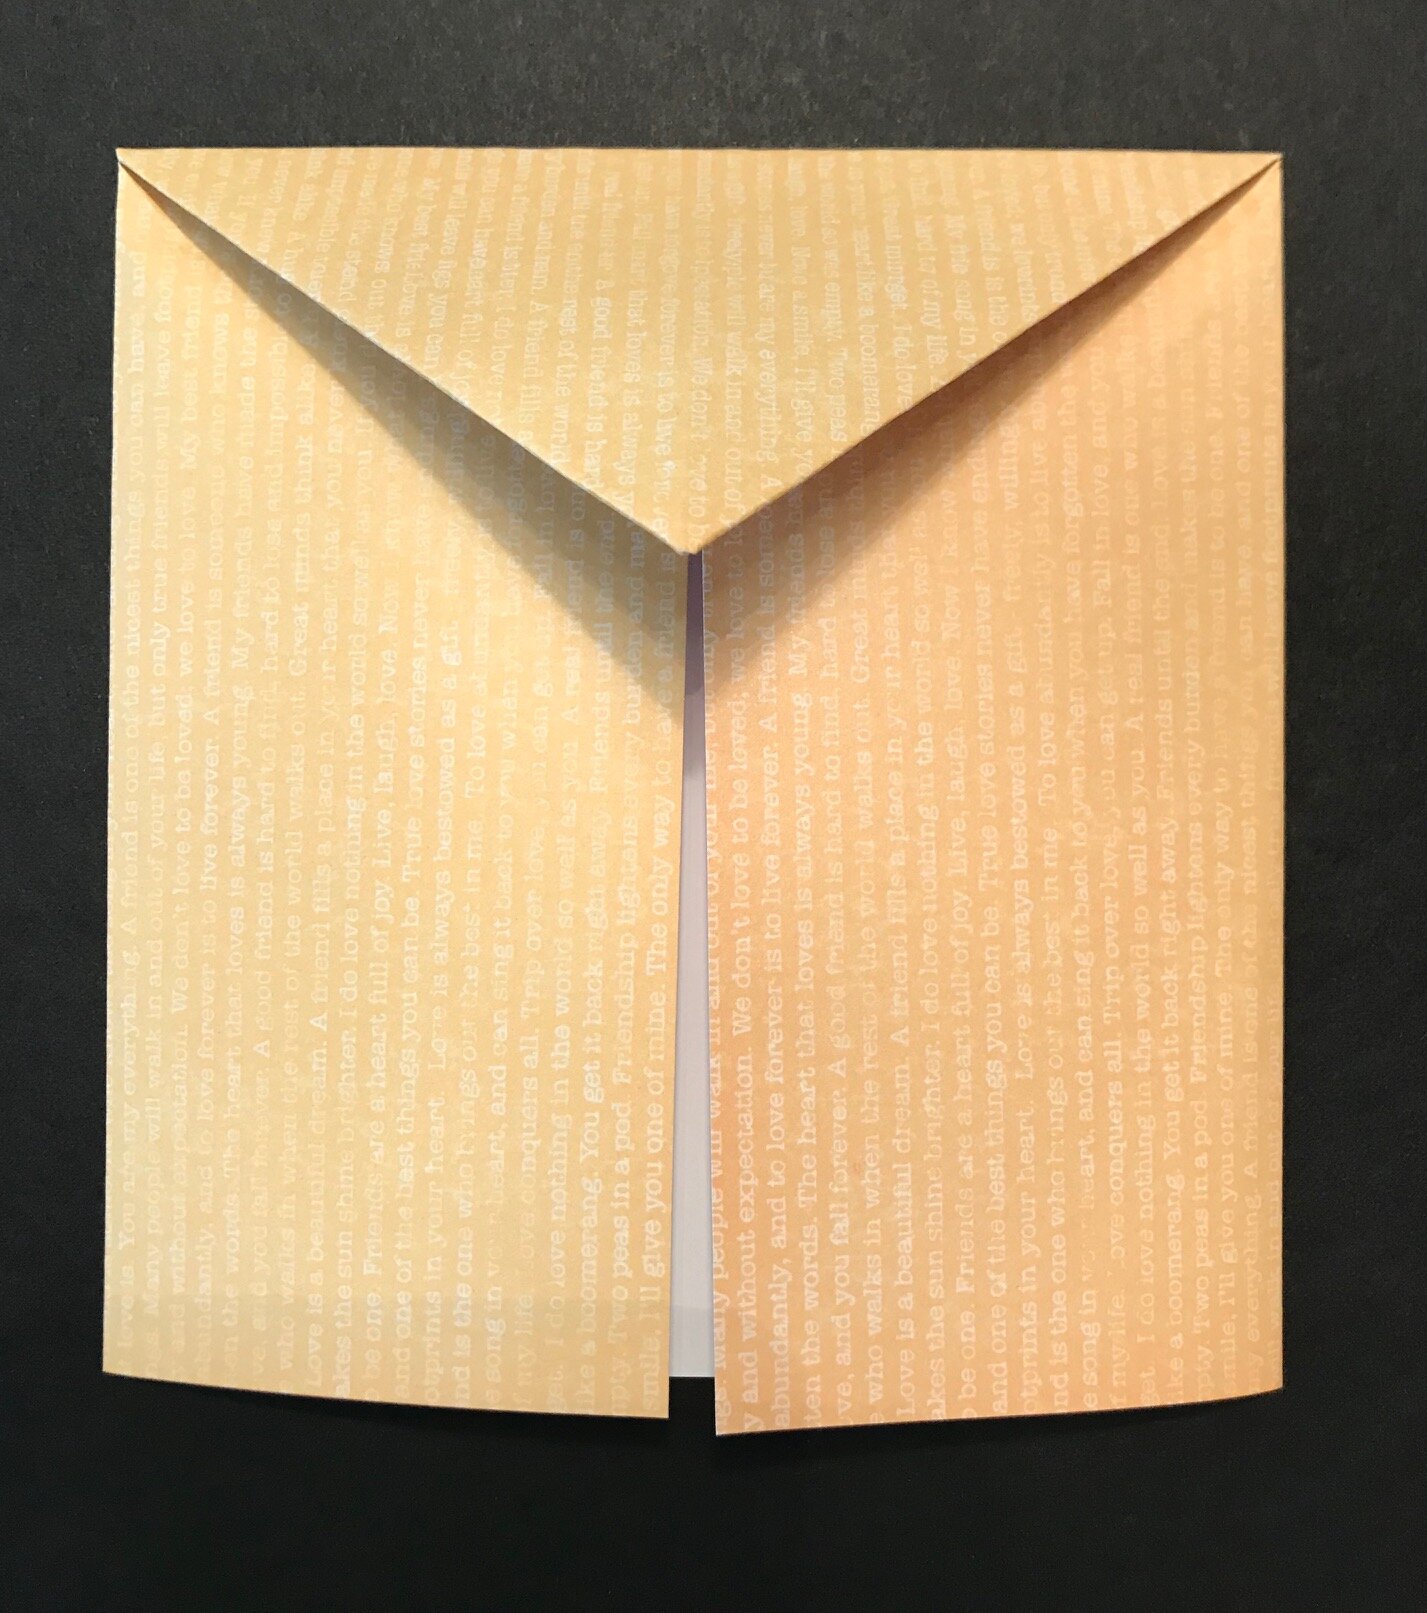
Fold the triangular section down.
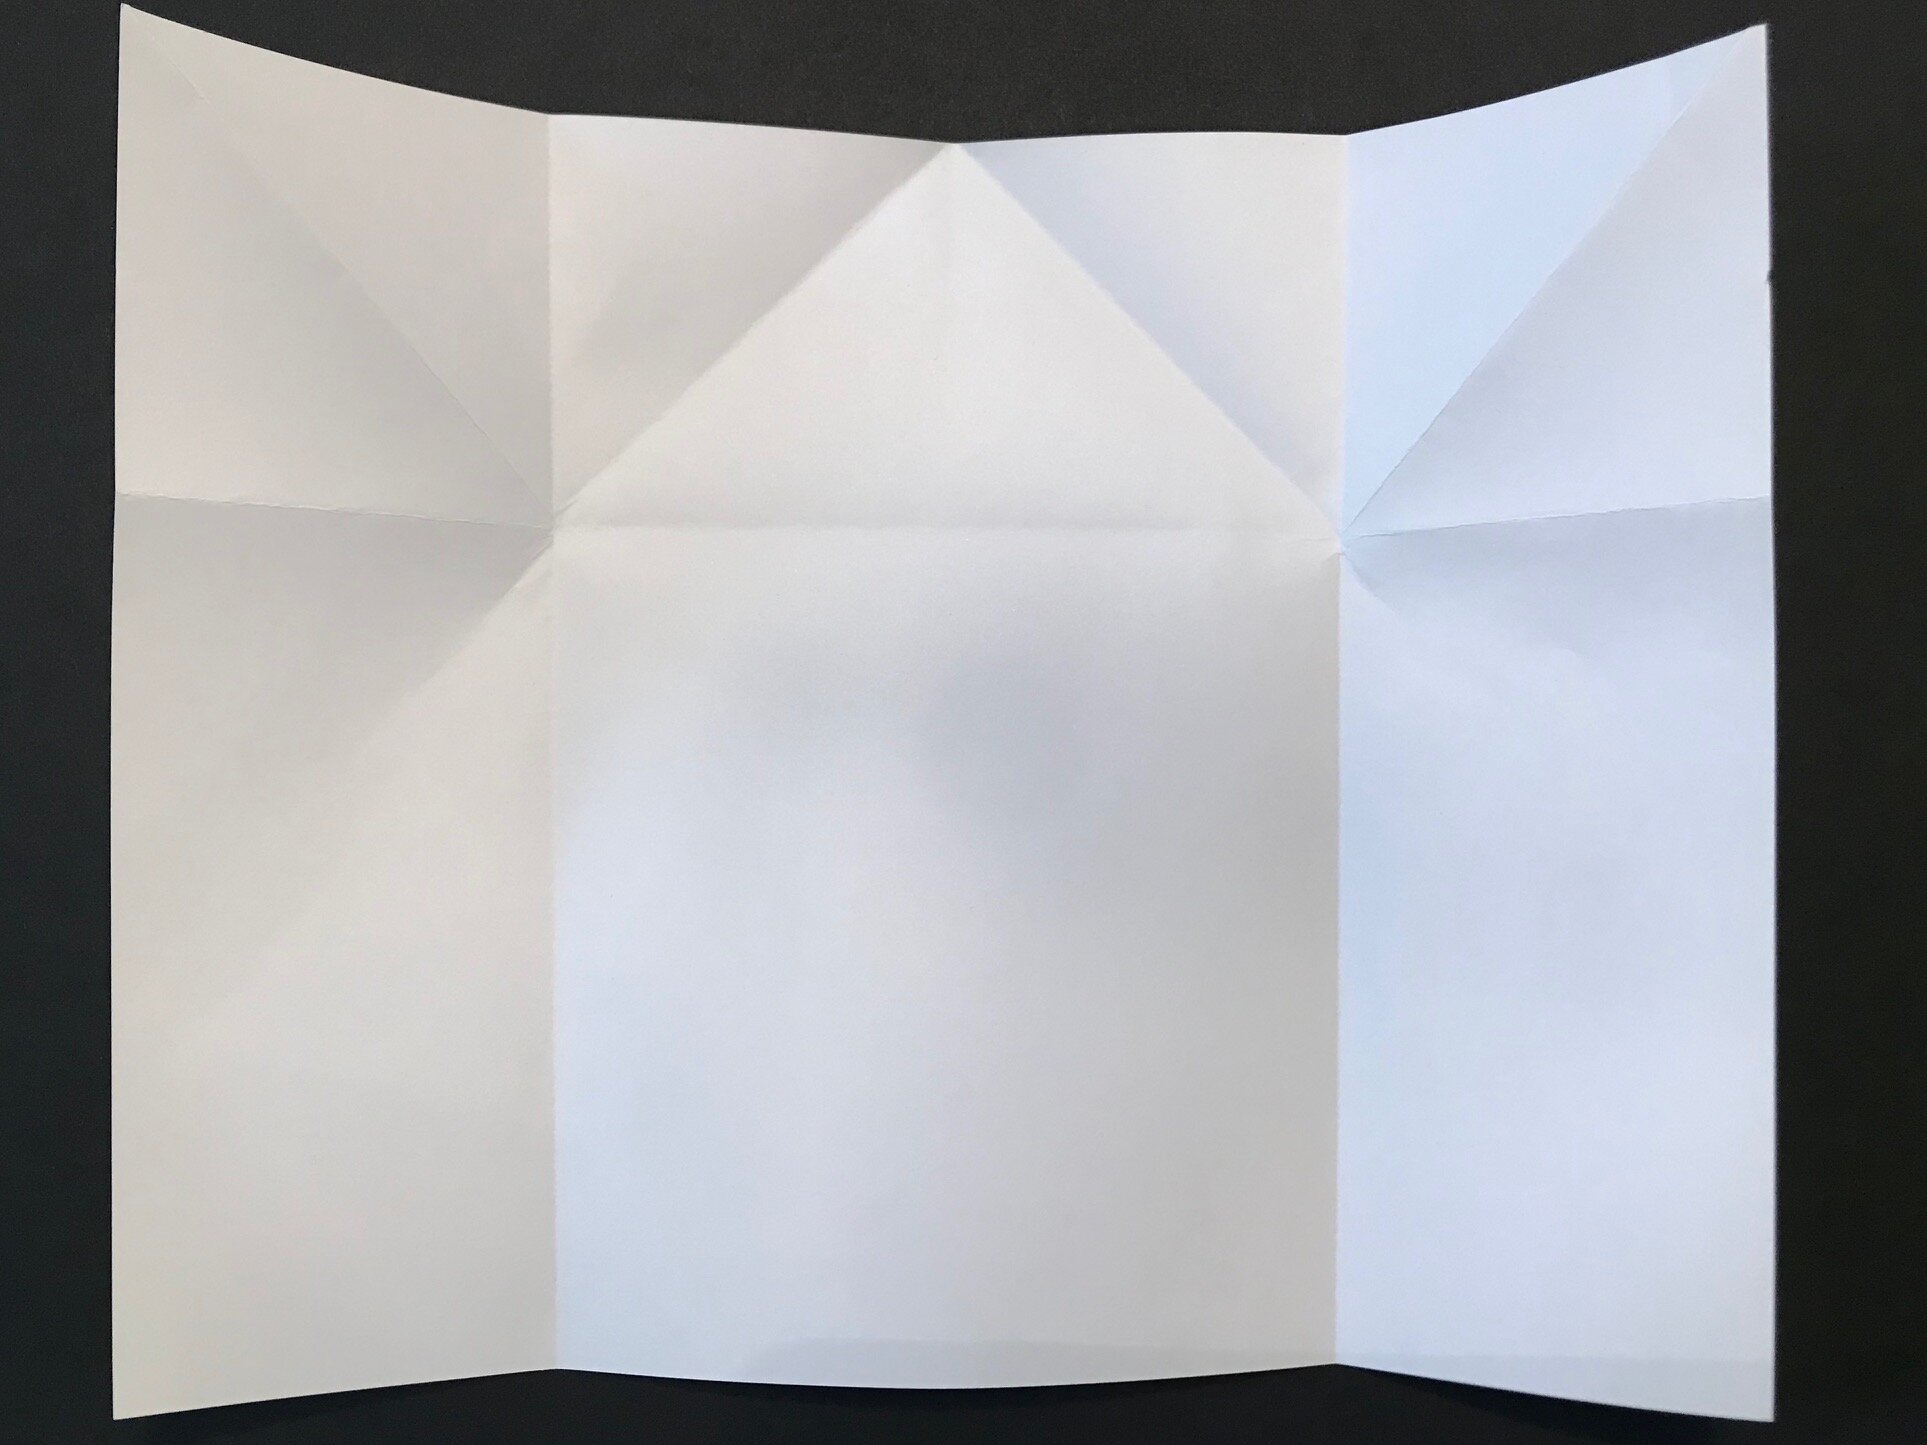
Open all folds.

Refold the horizontal crease lengthwise to make a valley fold across 11” length.
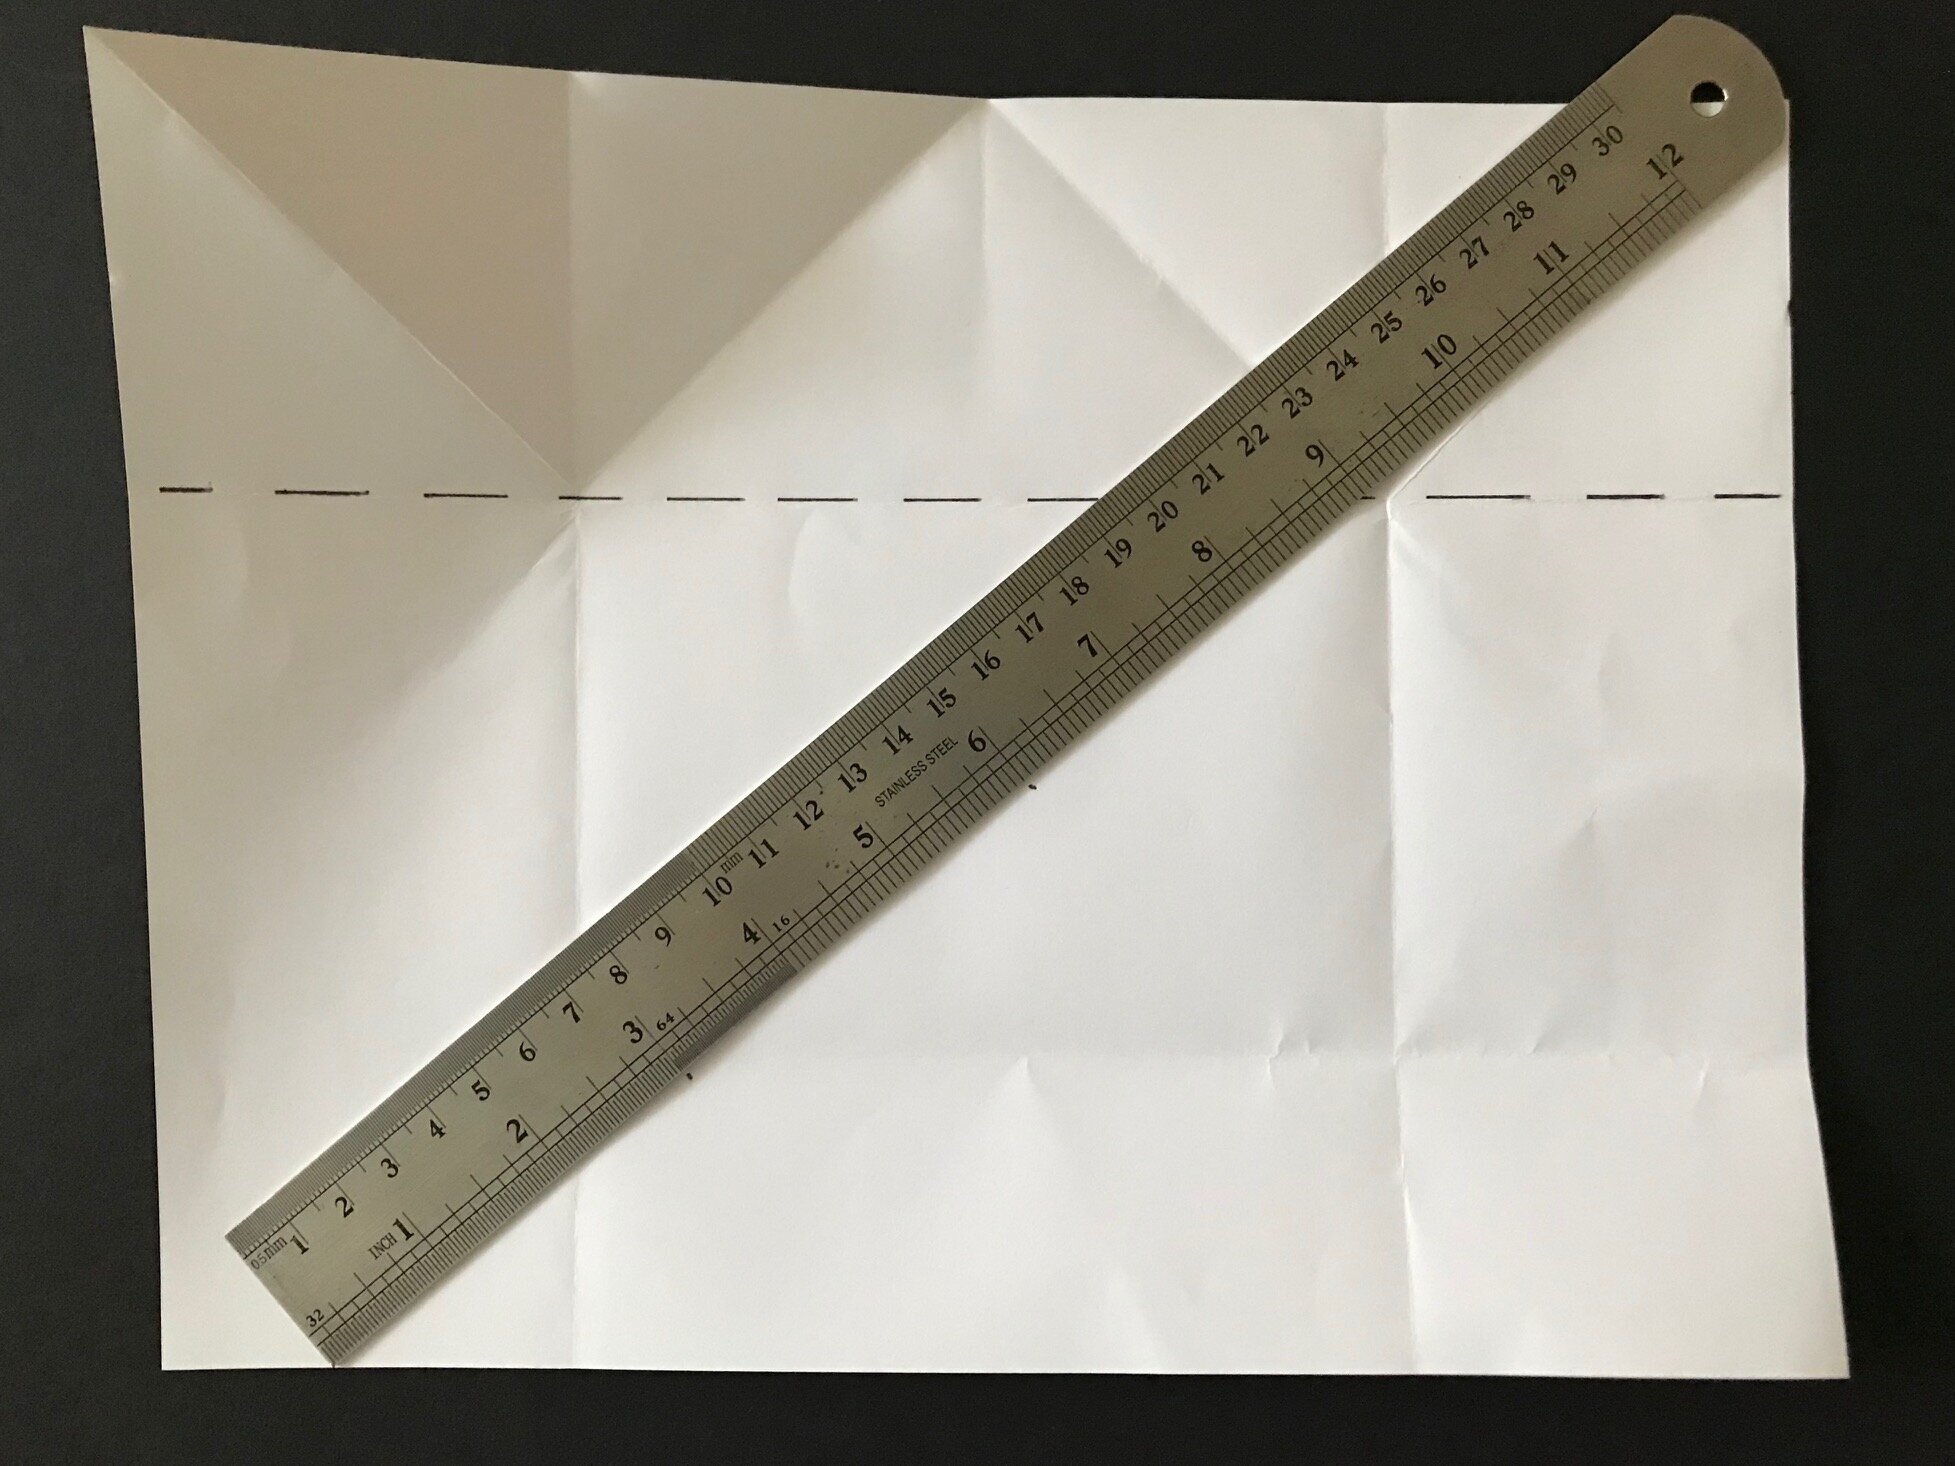
This part is really clever…You want to create a lengthwise fold one third from the bottom edge. You need to vertically divide the section below your previous horizontal fold (I’ve drawn a dash line) to the bottom edge into 3 equal sections. Lay your ruler at an angle from the bottom edge to the dash line using a measurement that is multiple of three. Here I used 9” and marked points at 3” and 6”.
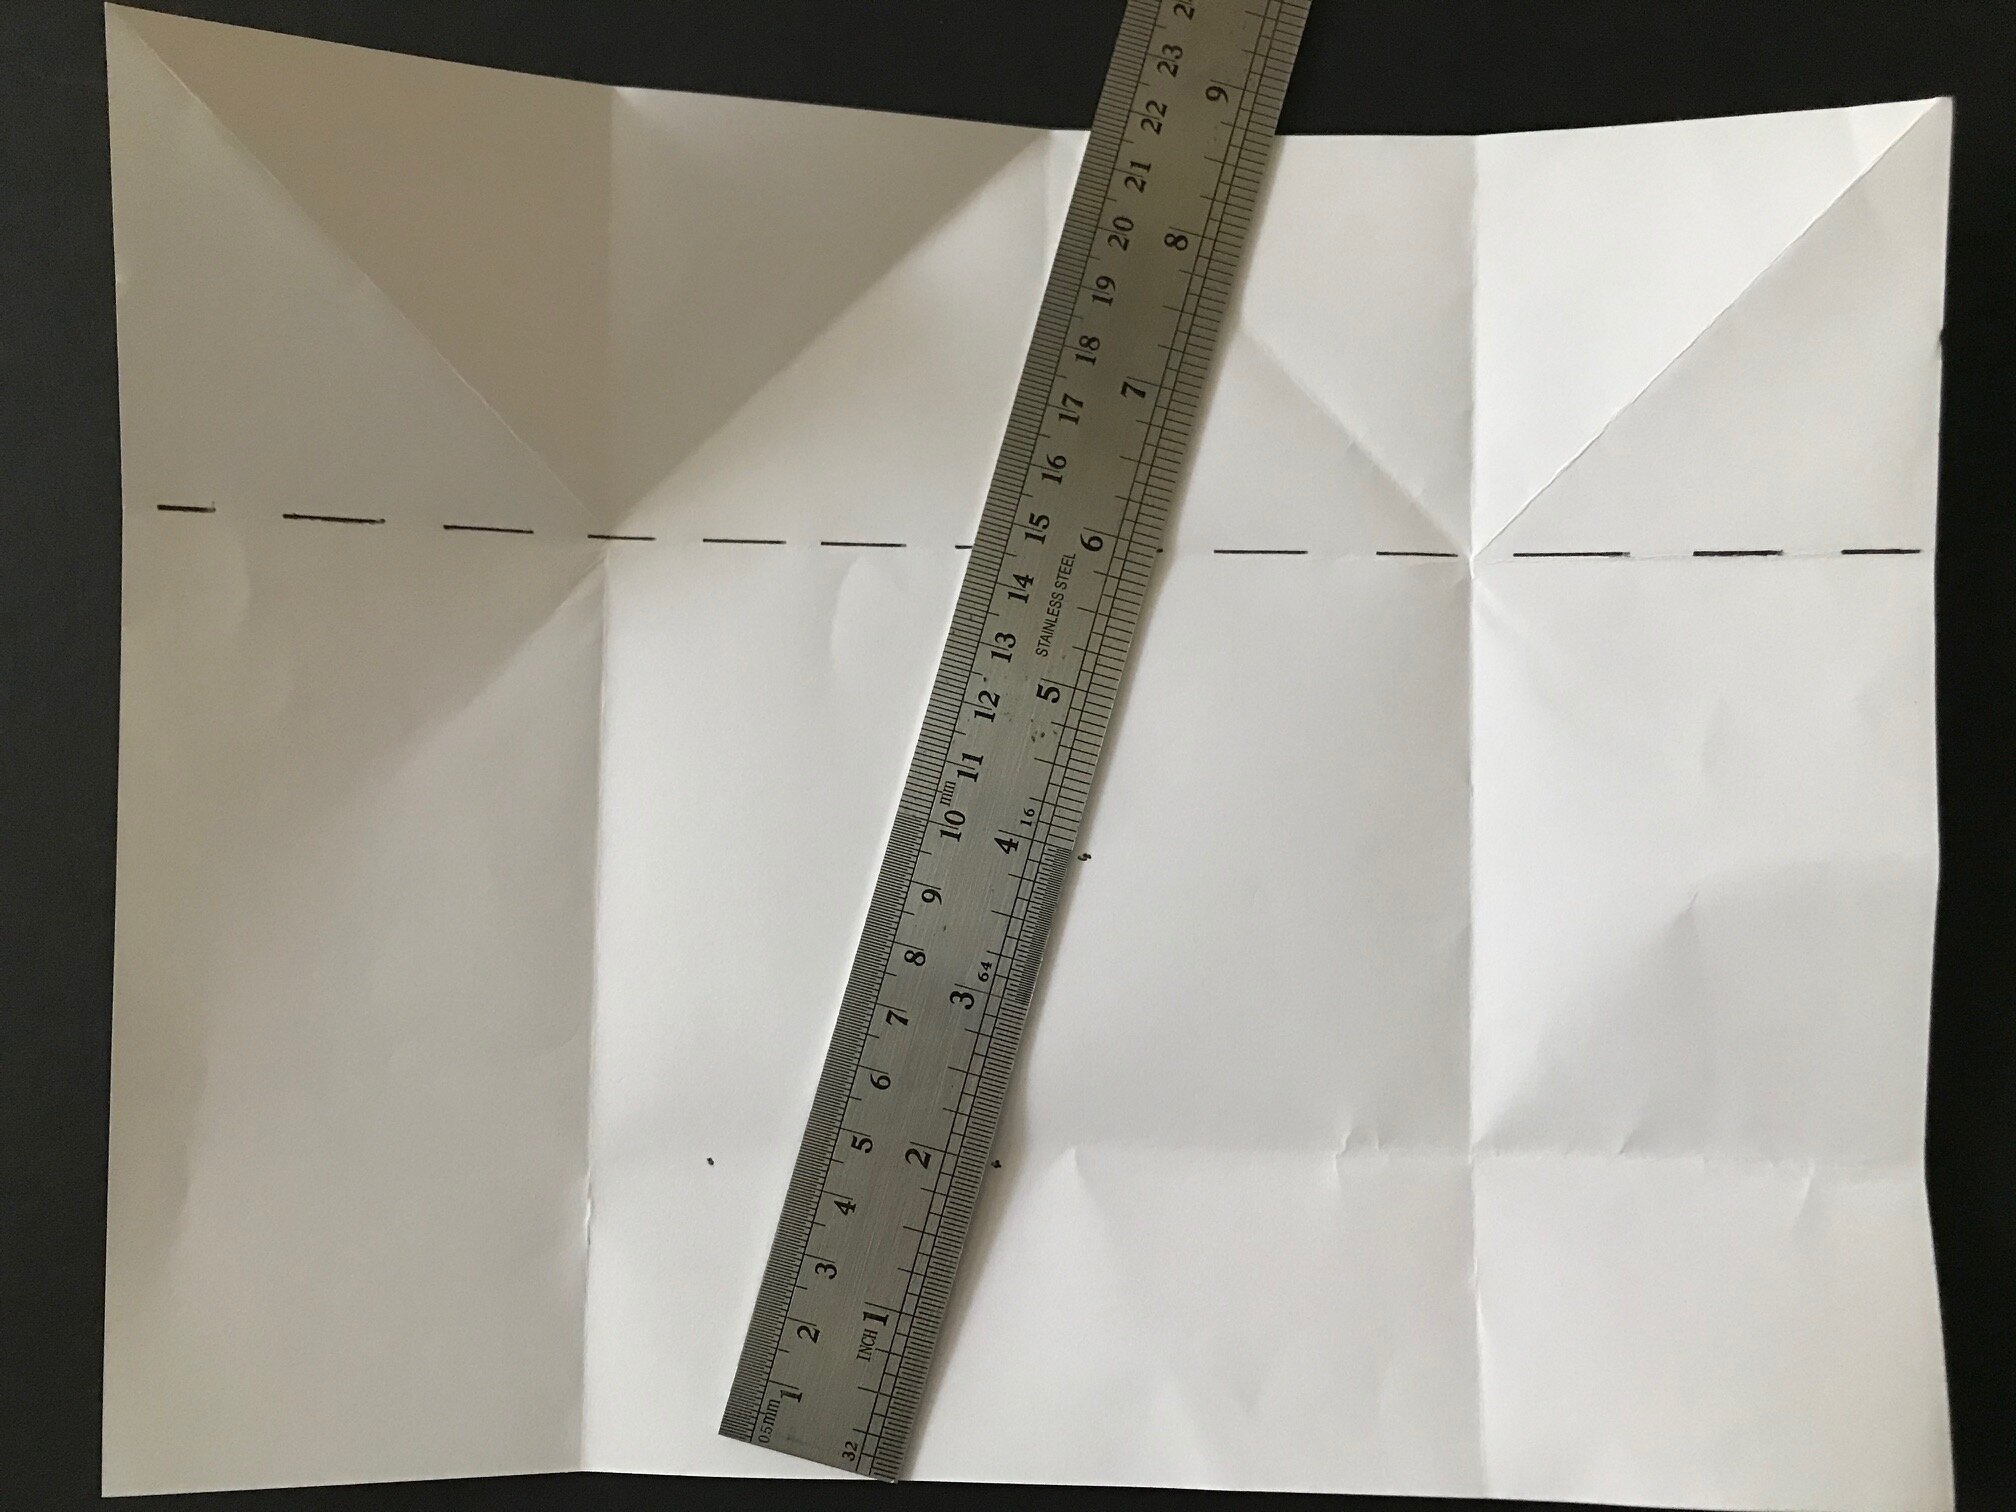
Or here, I used the 6” and marked points at 2” and 4”. Both will work. The angle of my ruler is different but the section is still equally divided into thirds either way.
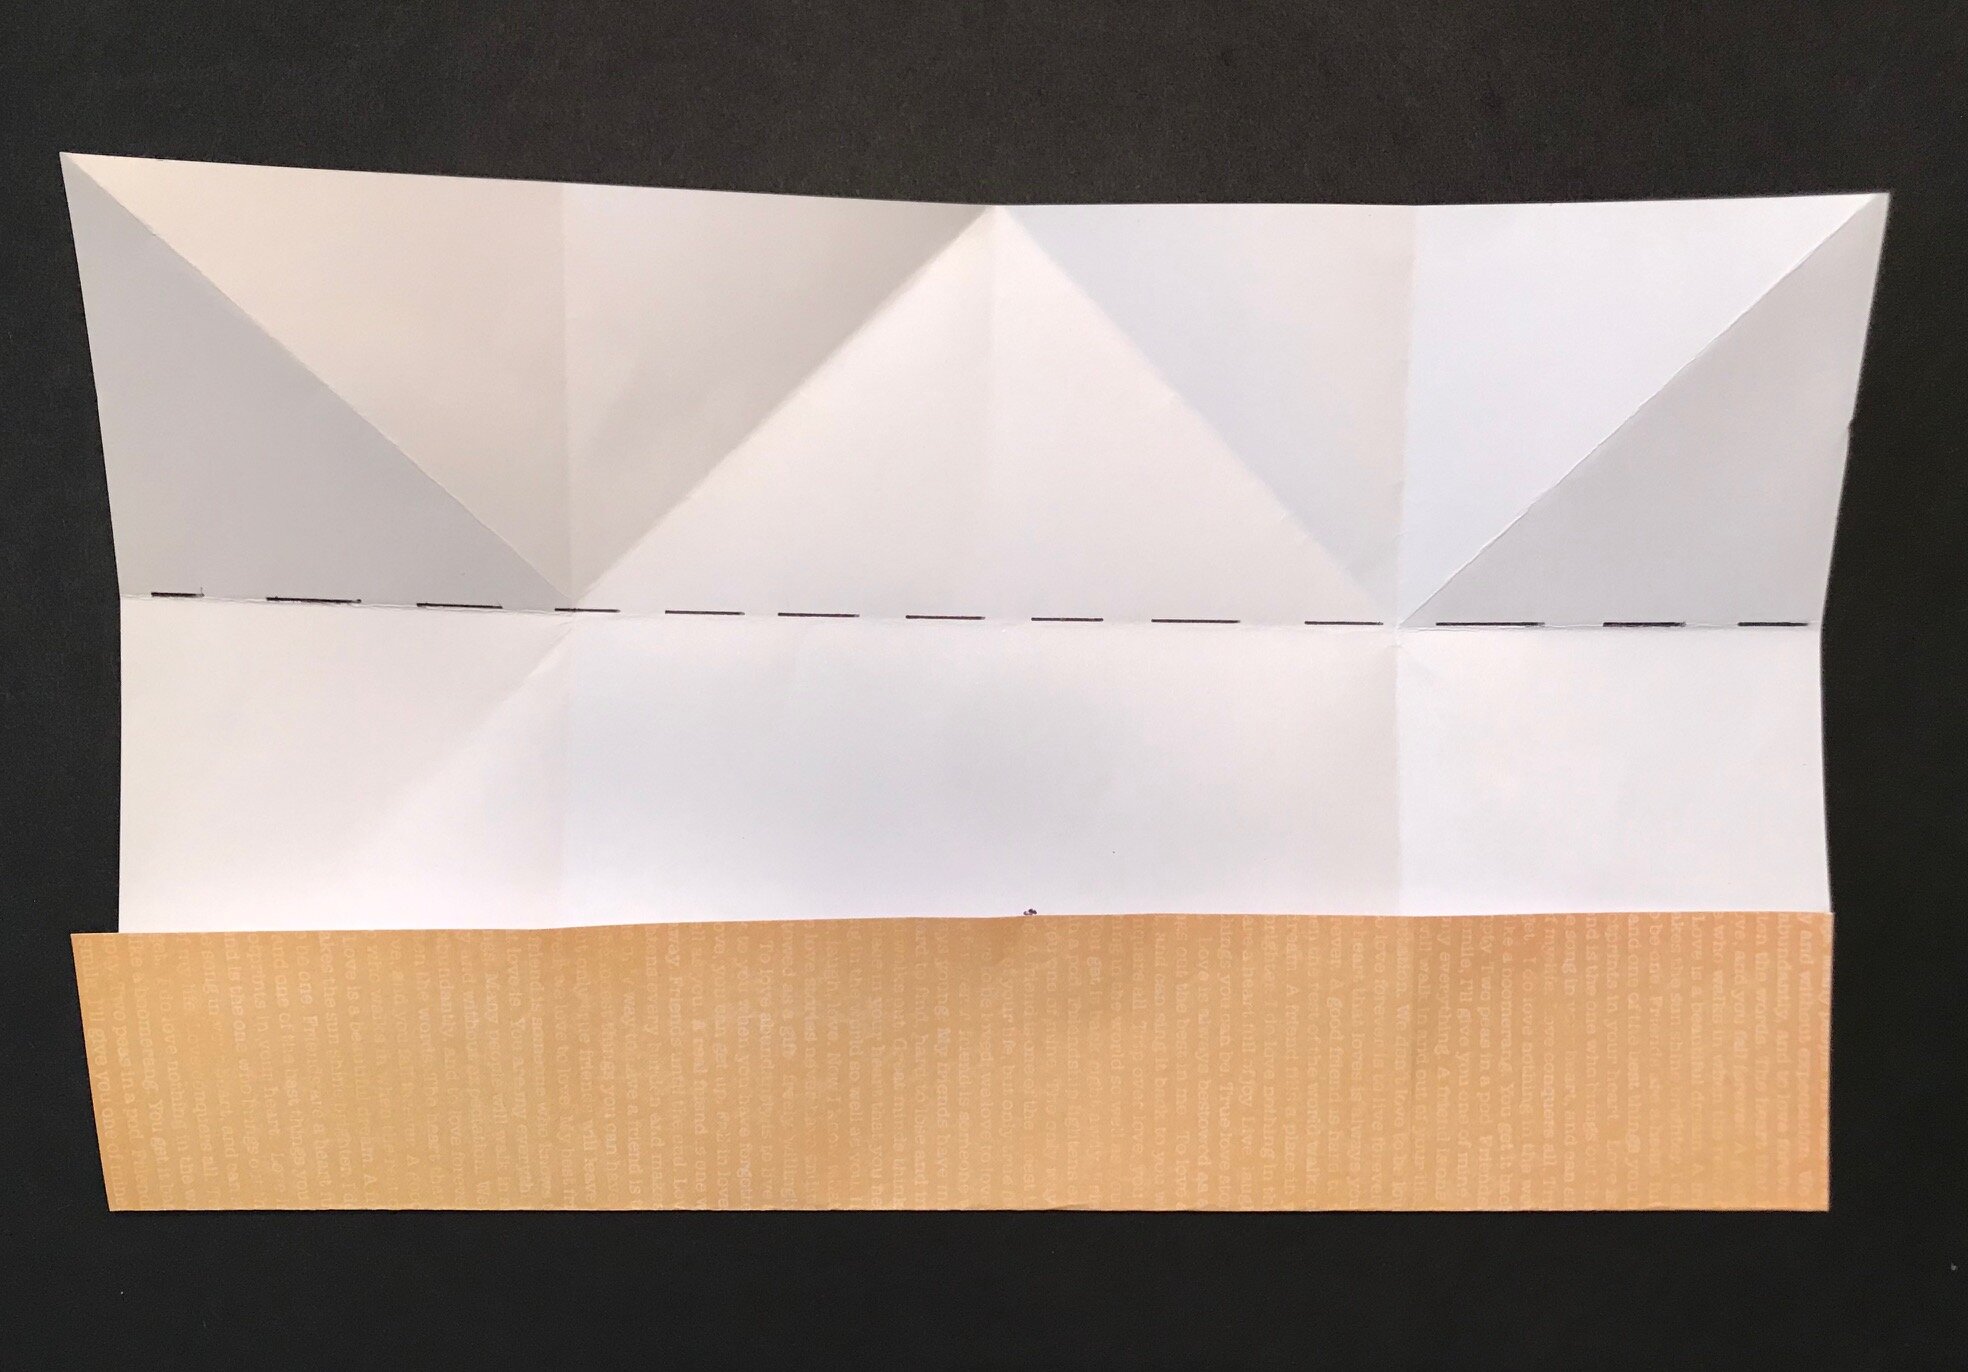
Fold the bottom 3rd section up aligning the sides.
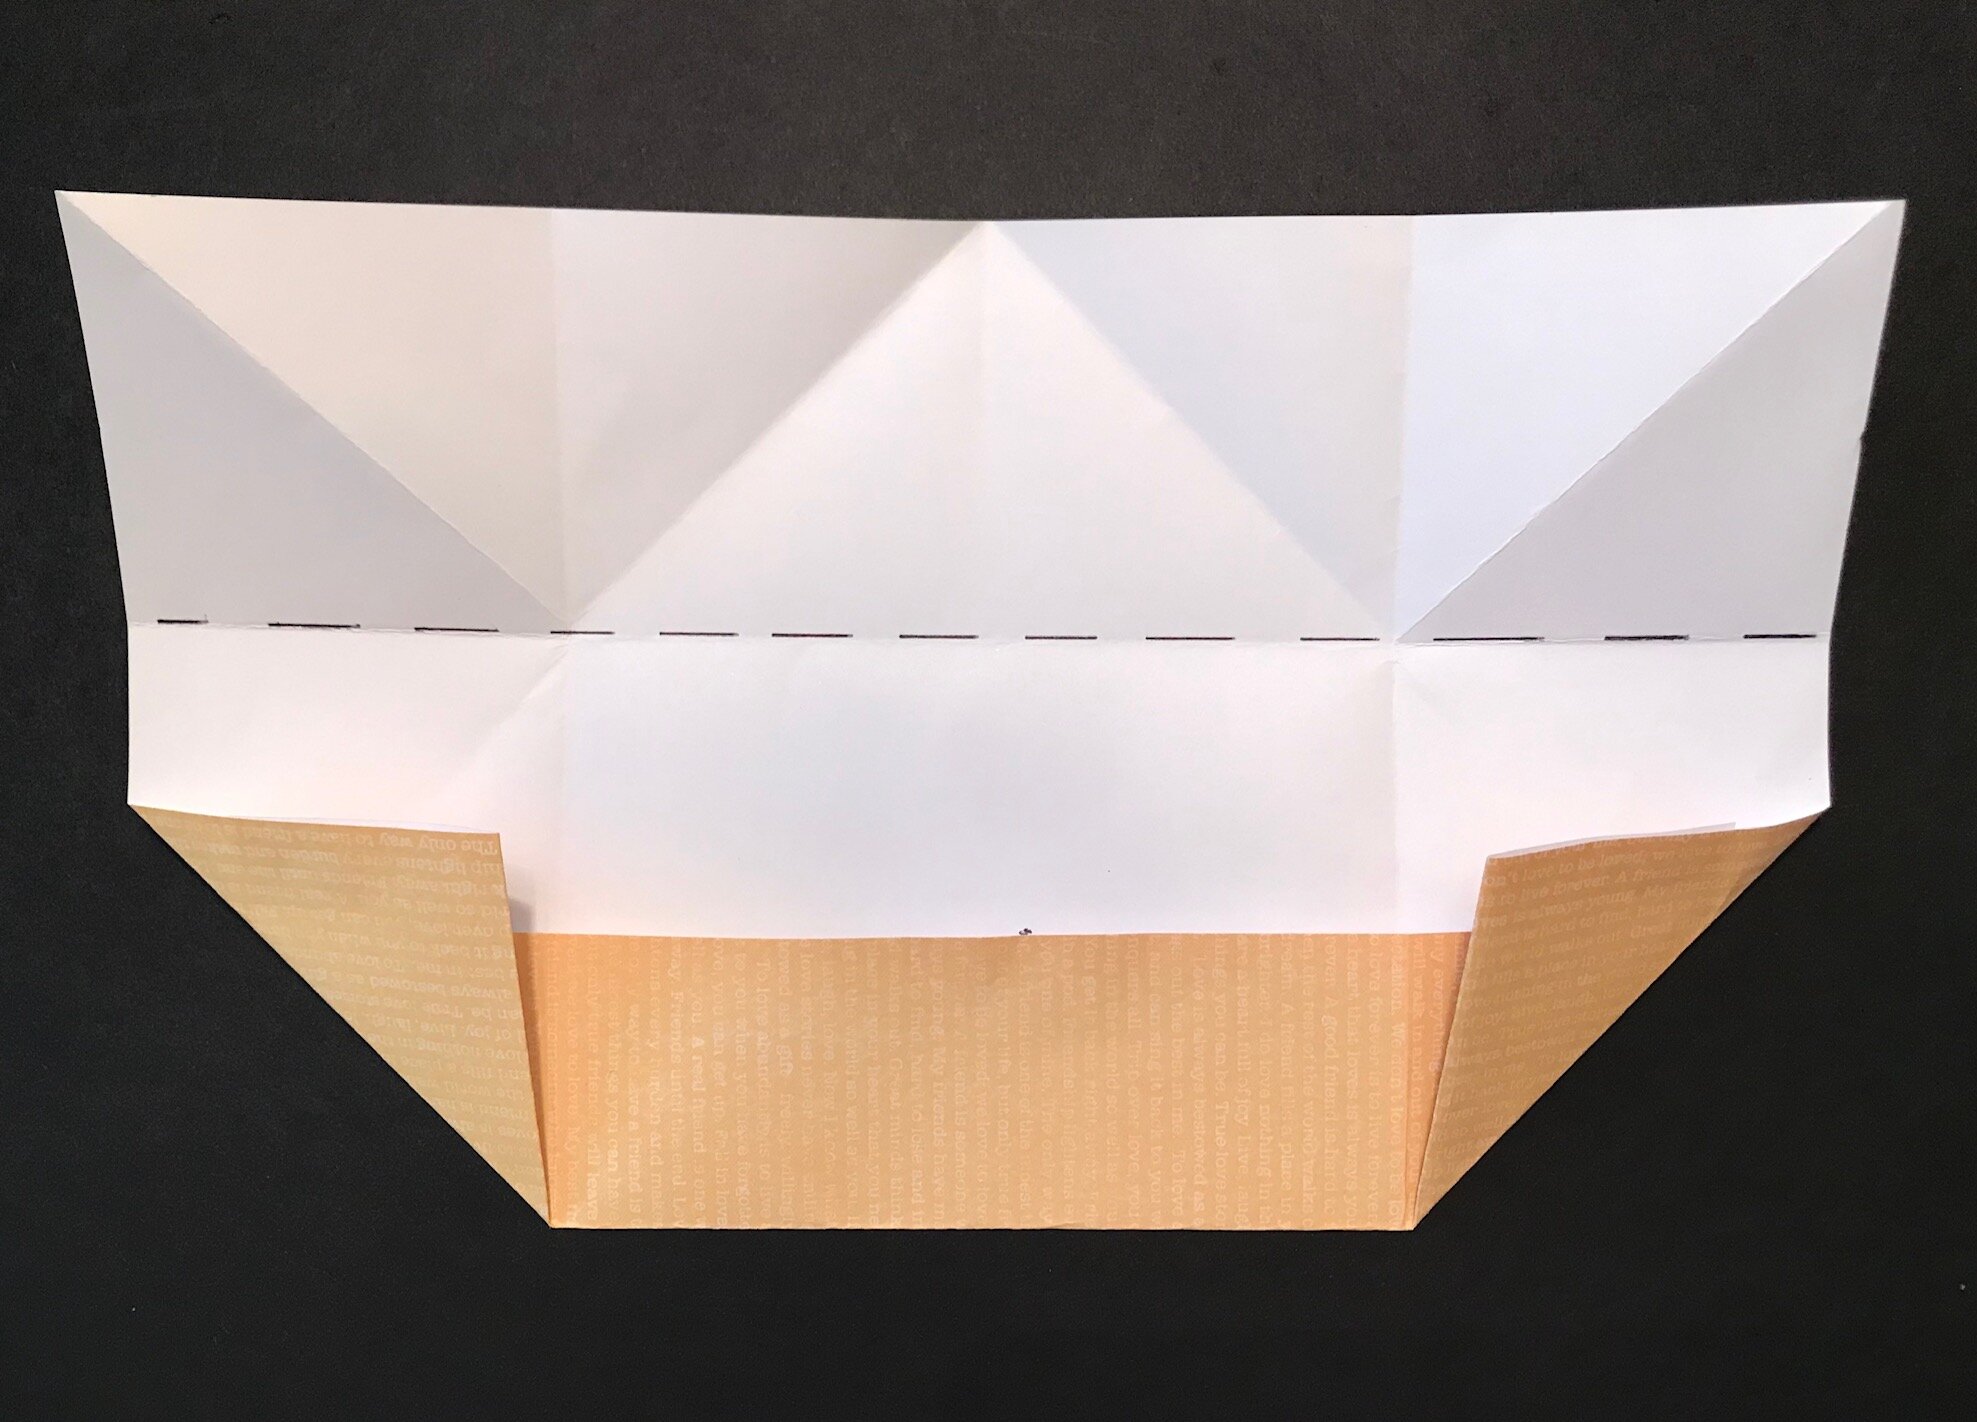
Fold the bottom left and right corners, aligning the bottom edge of the corner with the vertical fold lines.
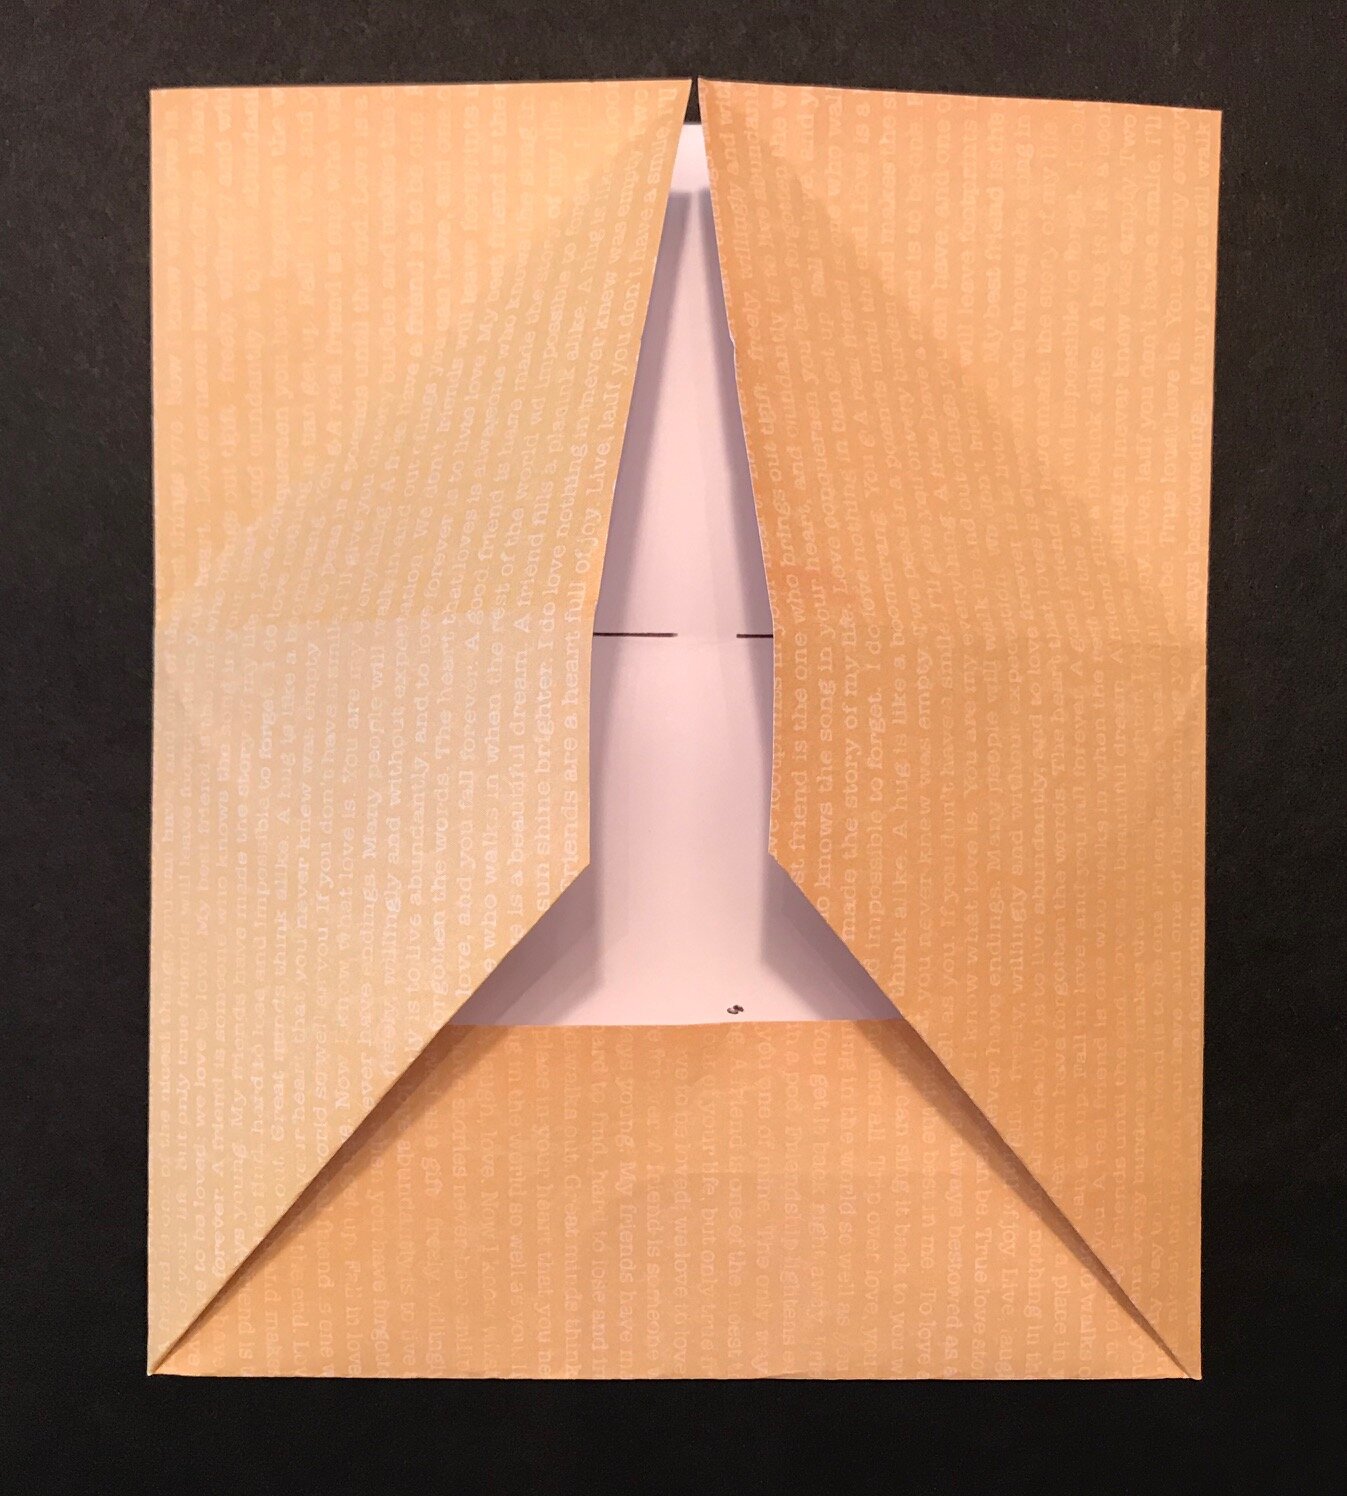
Refold the left and right vertical sides towards the center.
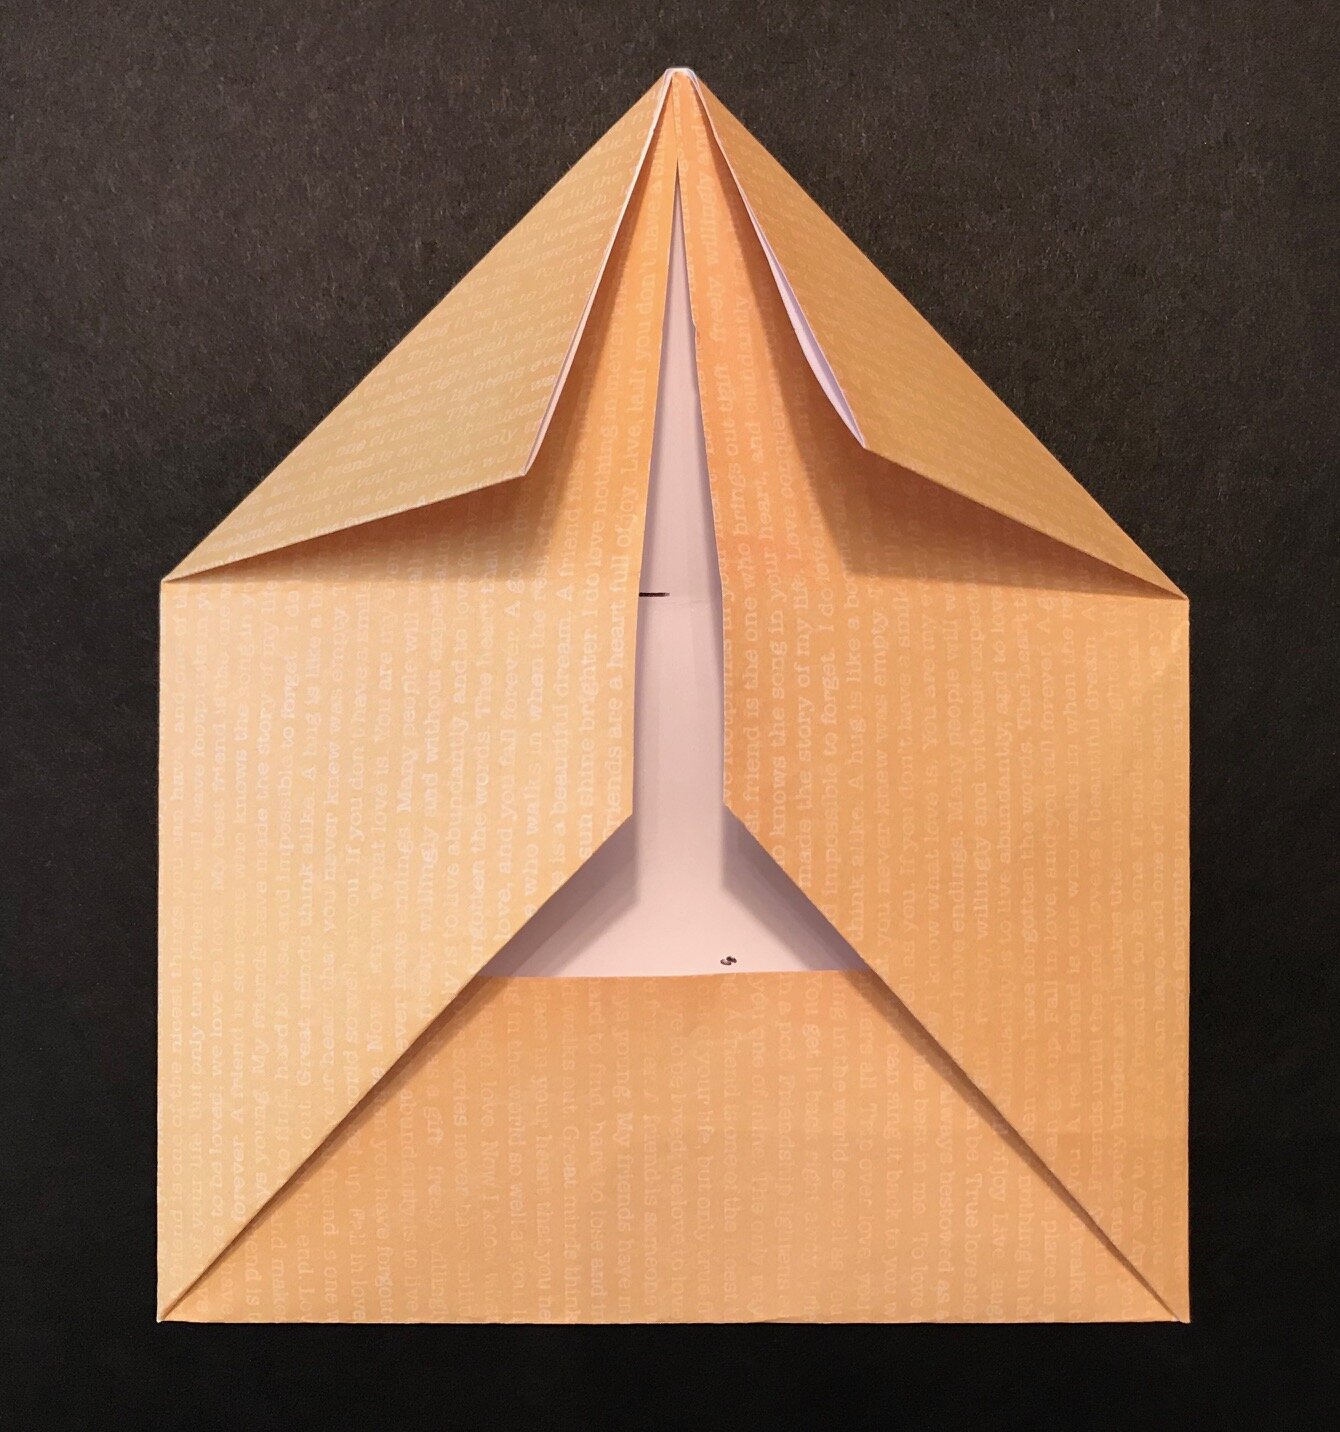
Refold the top left and right corners.
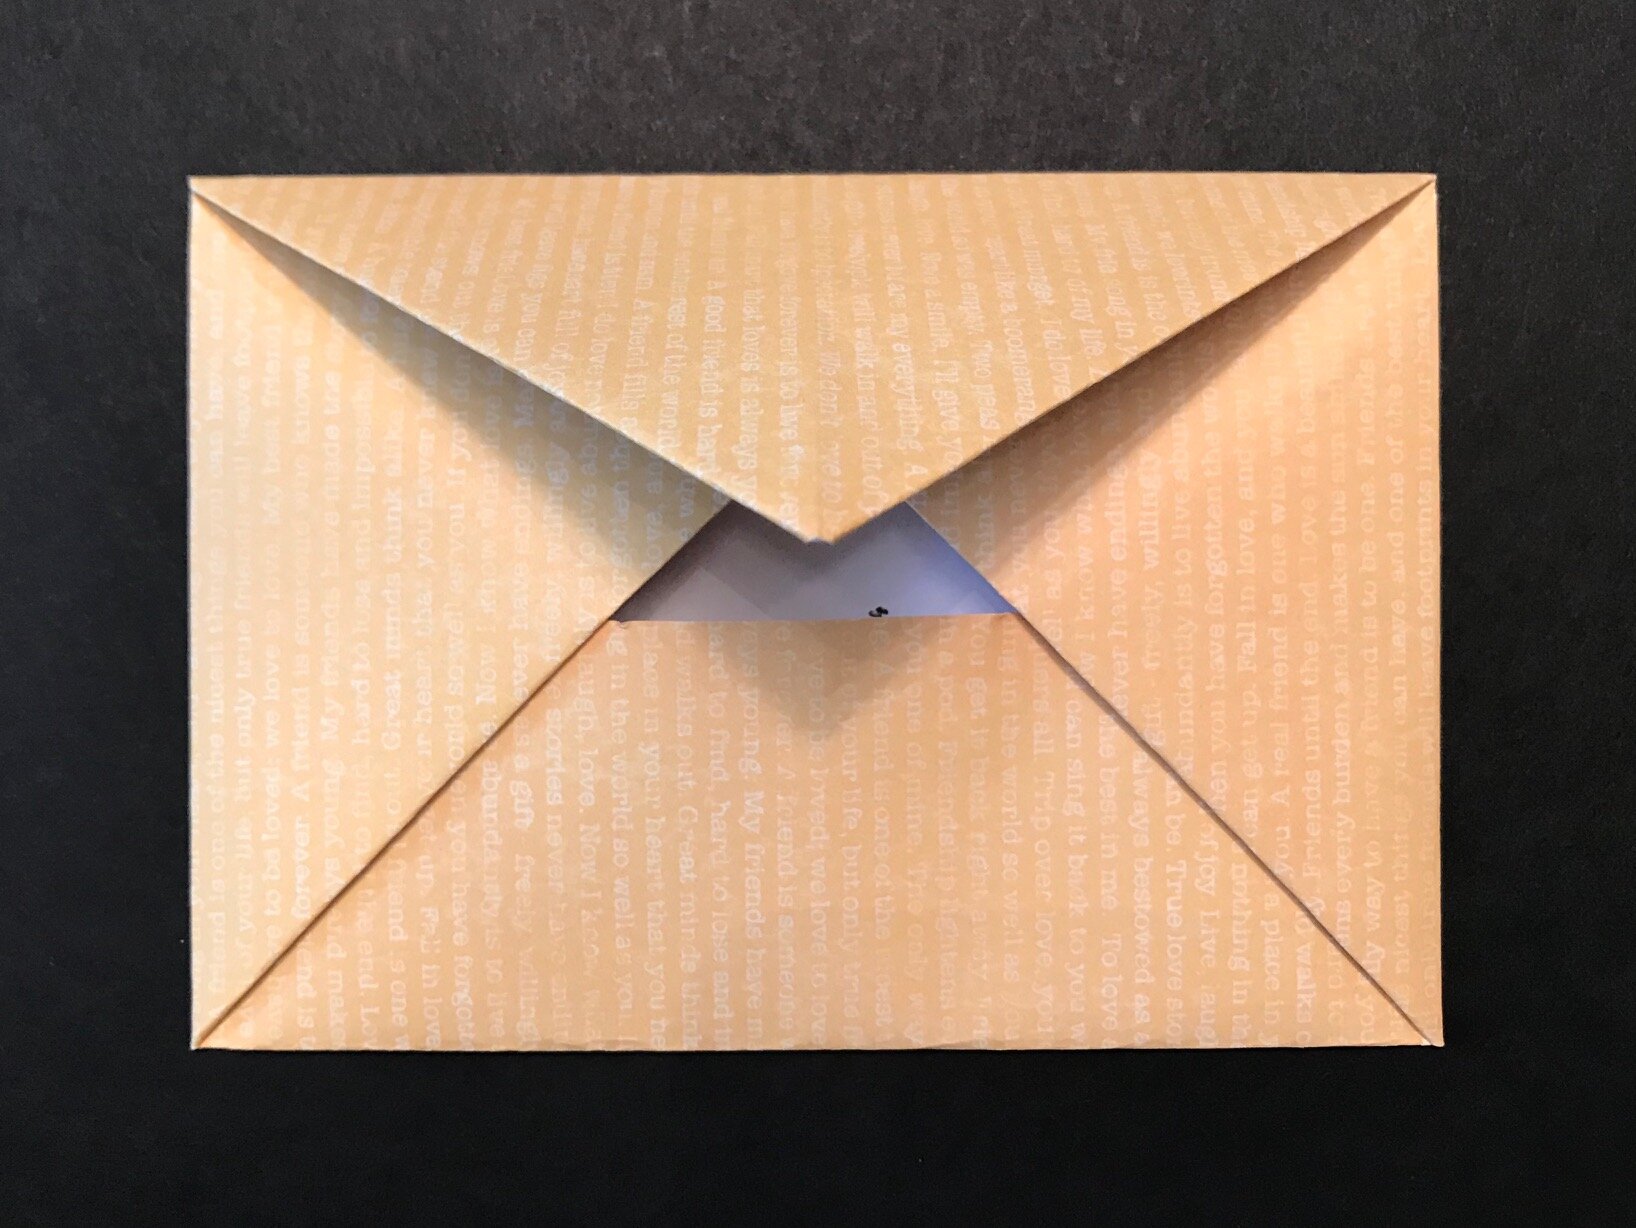
Refold the horizontal line to create a triangular flap.
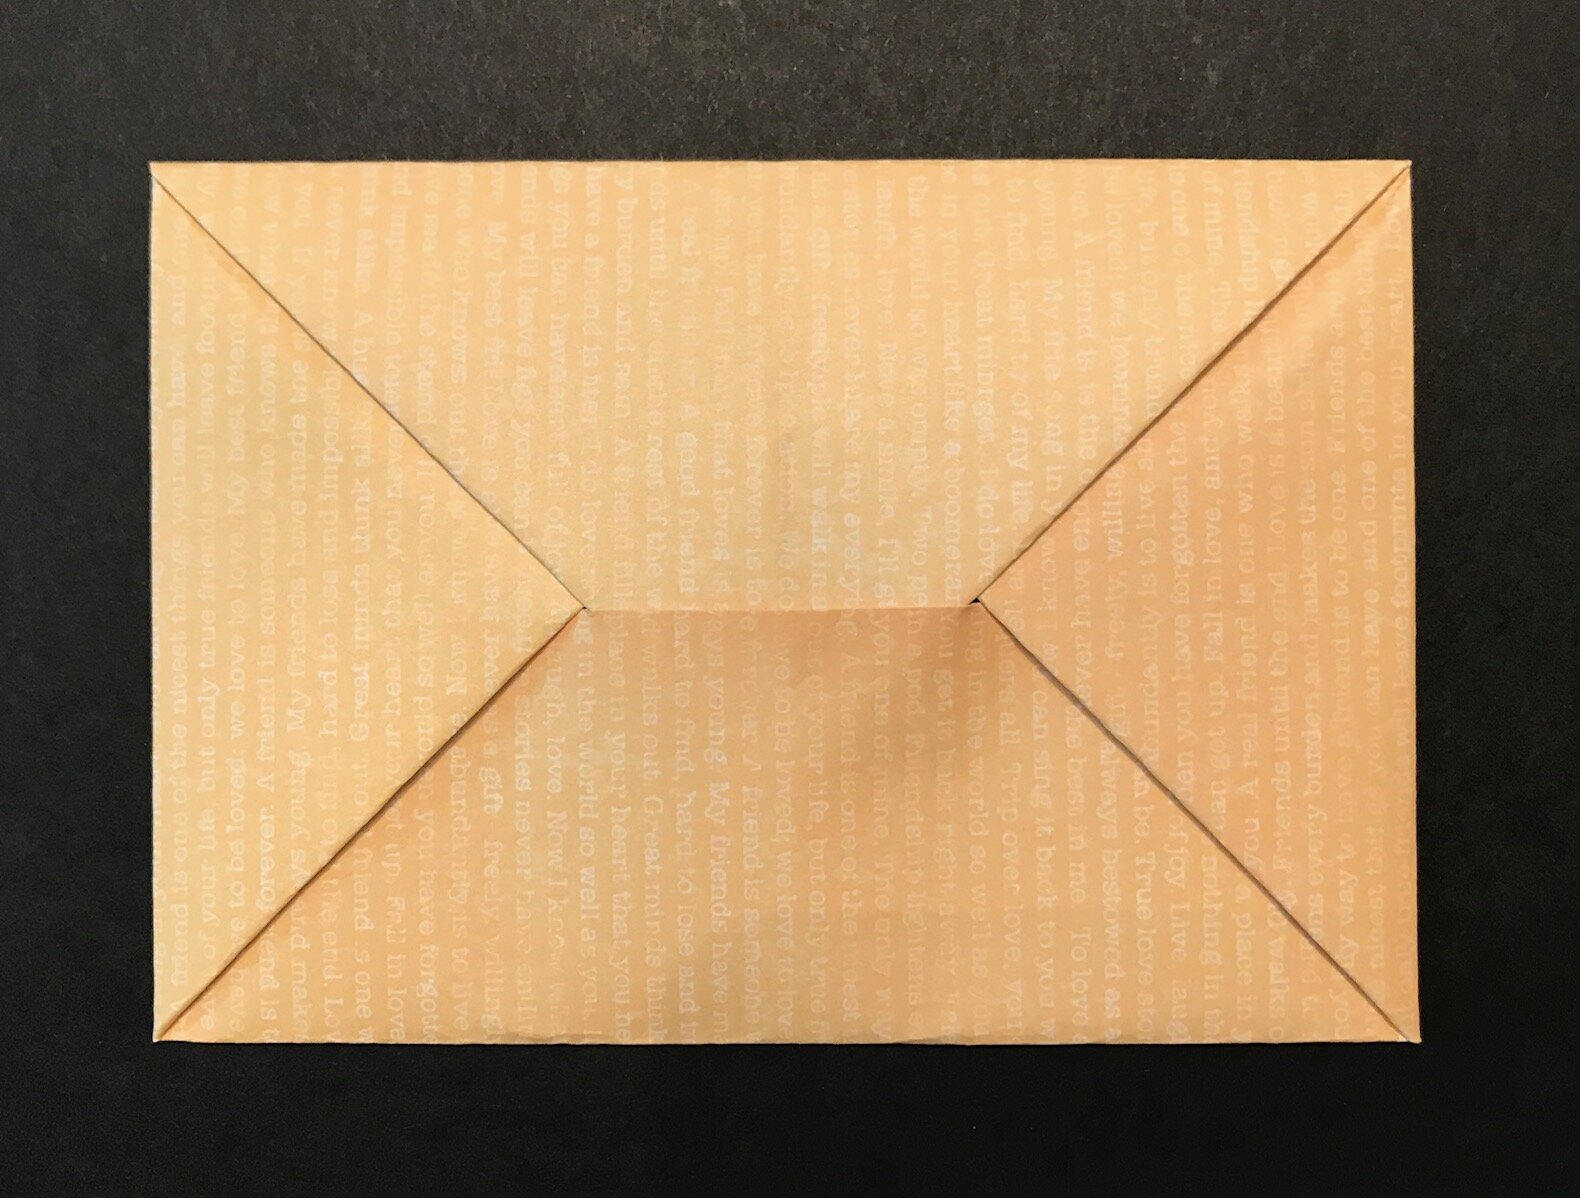
Tuck in your triangular flap into the pocket of your envelope.
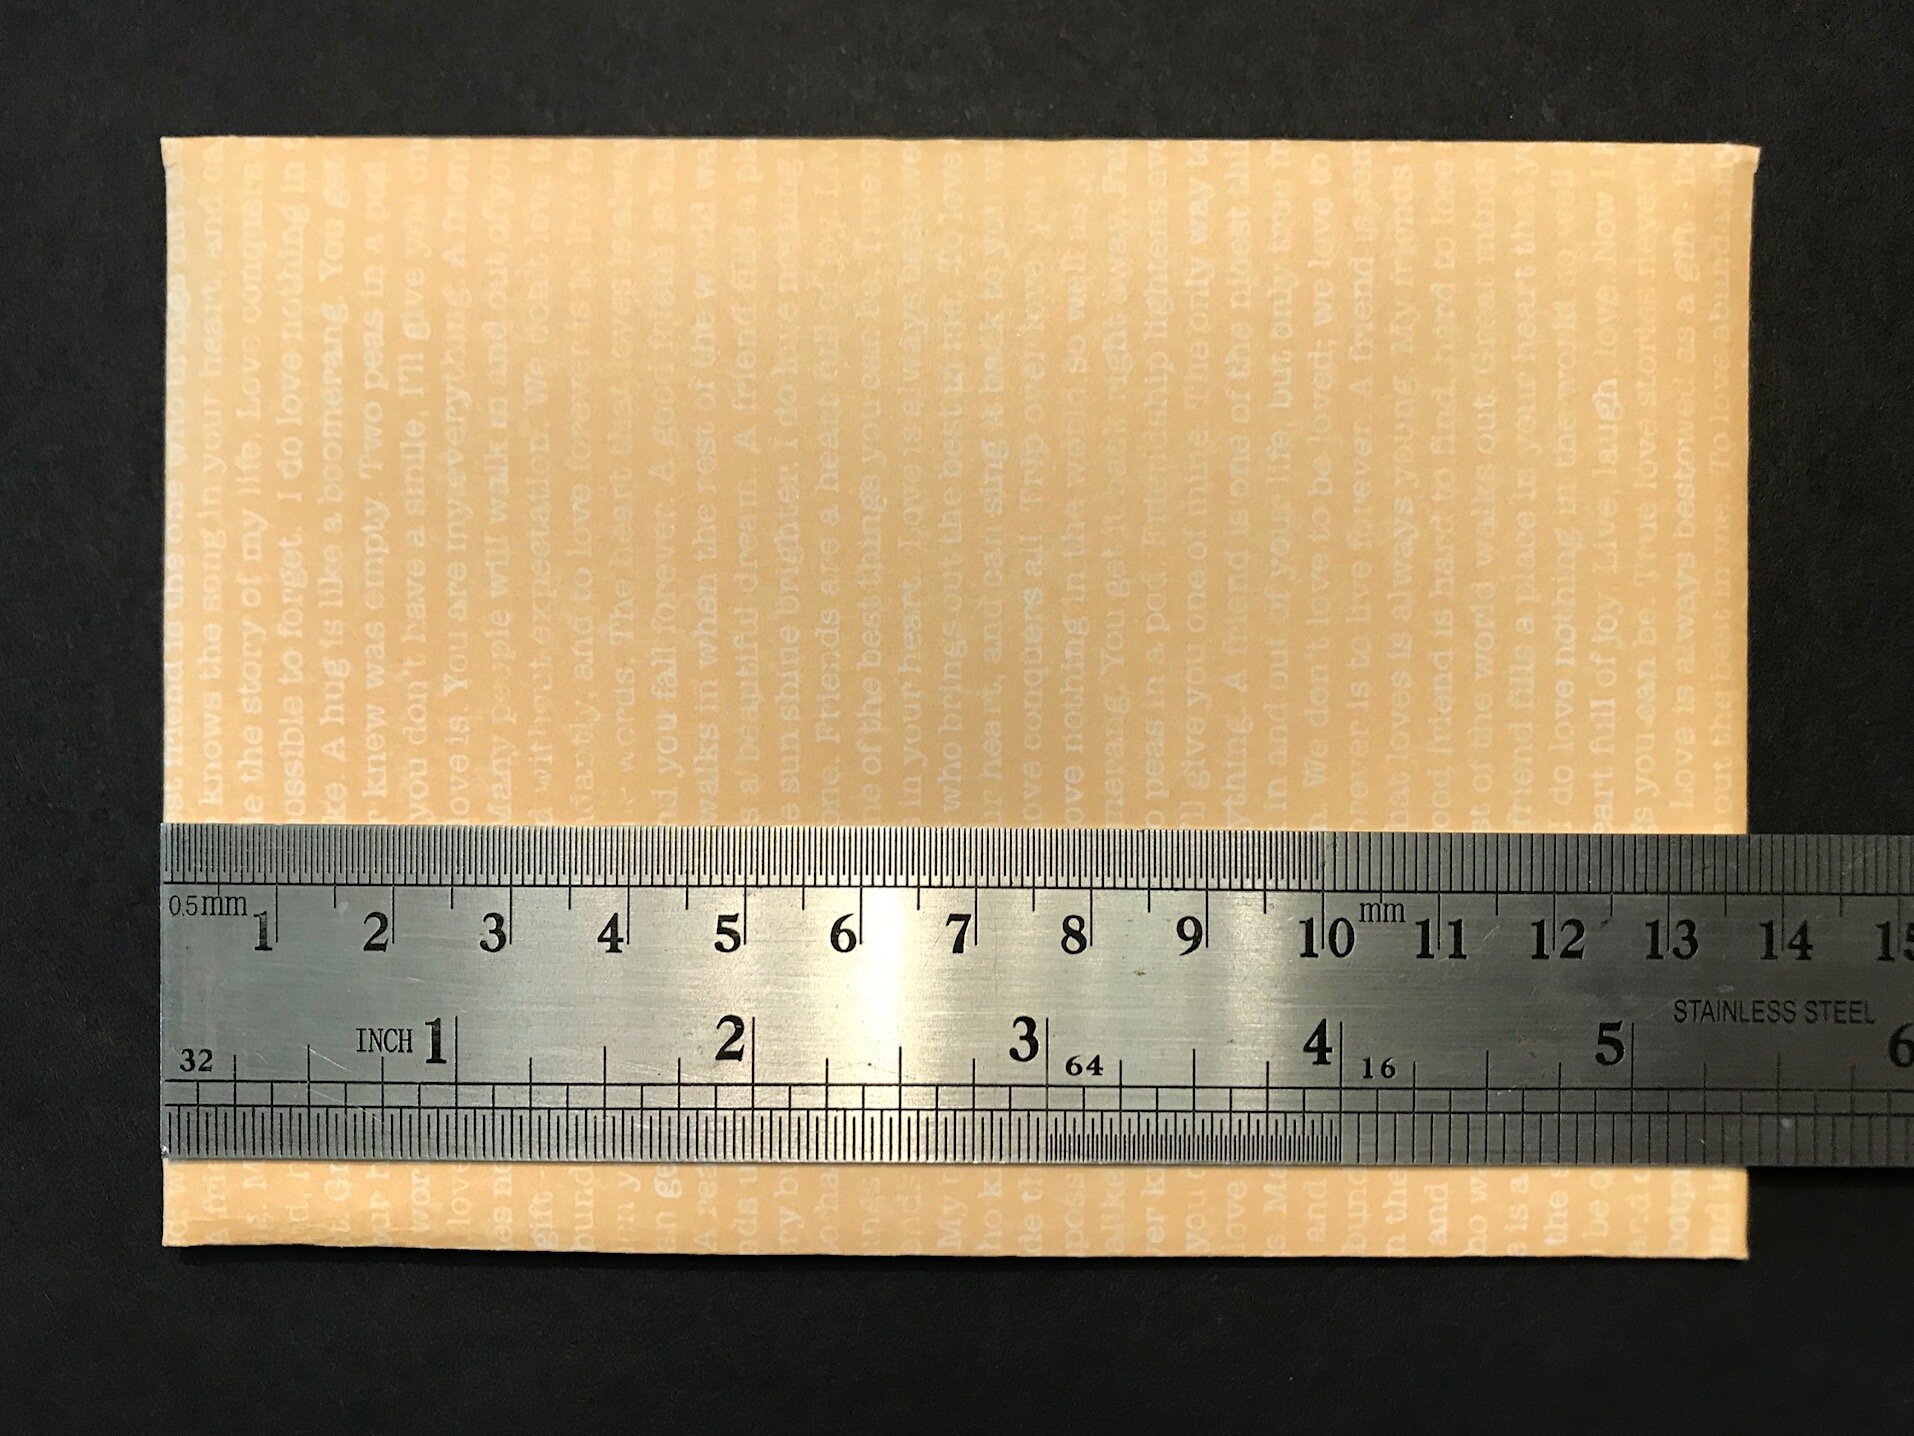
Final size of envelope: 5-3/8” long
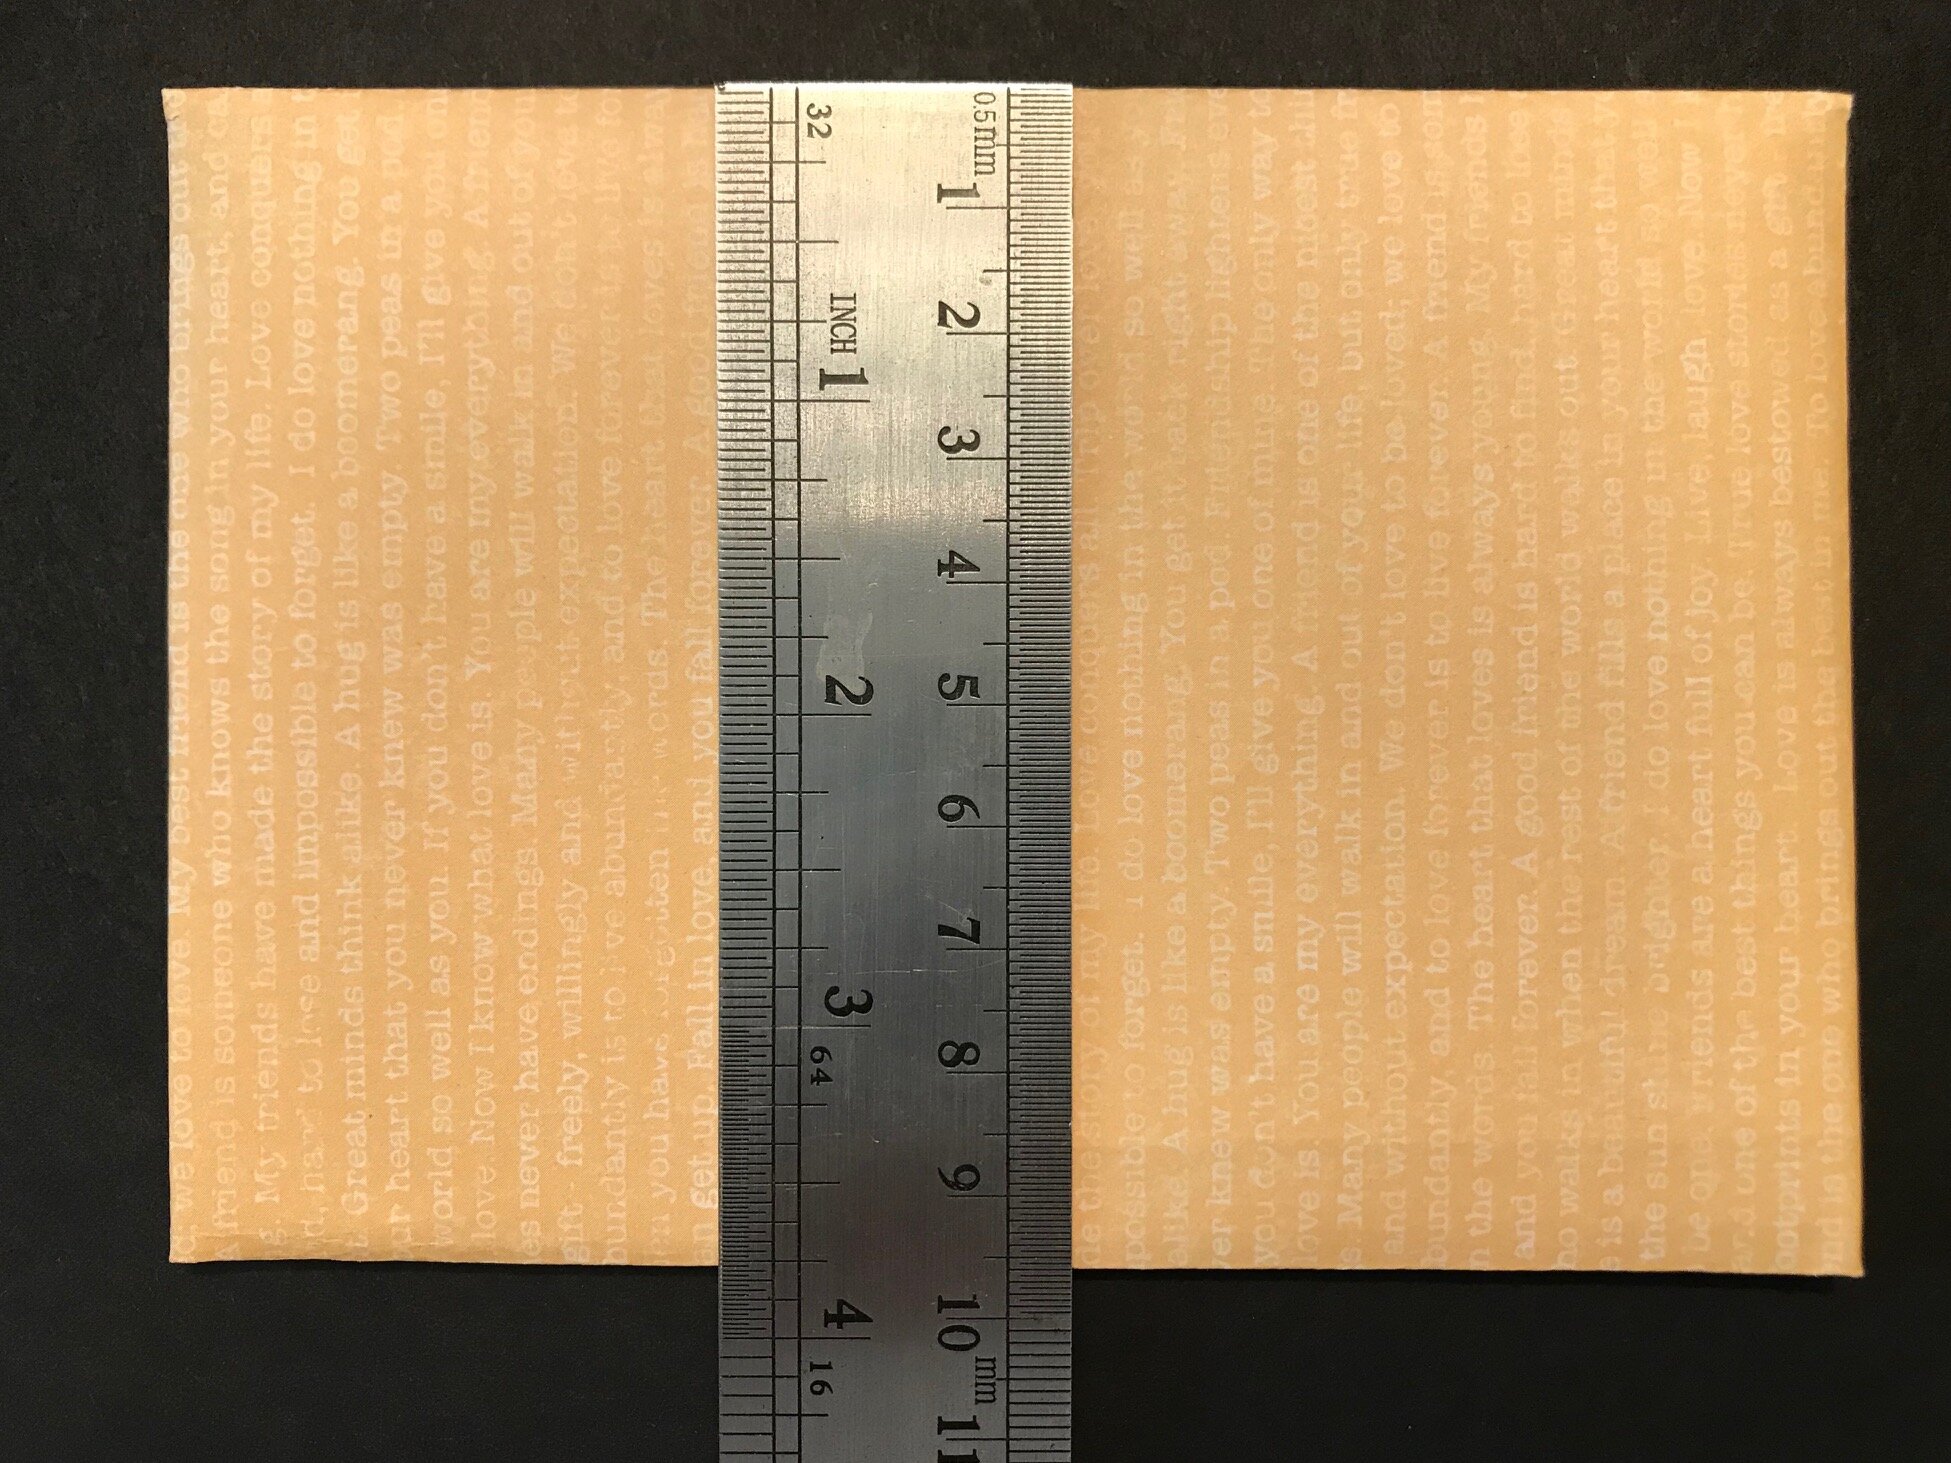
by 3-3/4” high, fitting postal standards. Add a stamp and address.


